How to Make a Junk Journal Step by Step
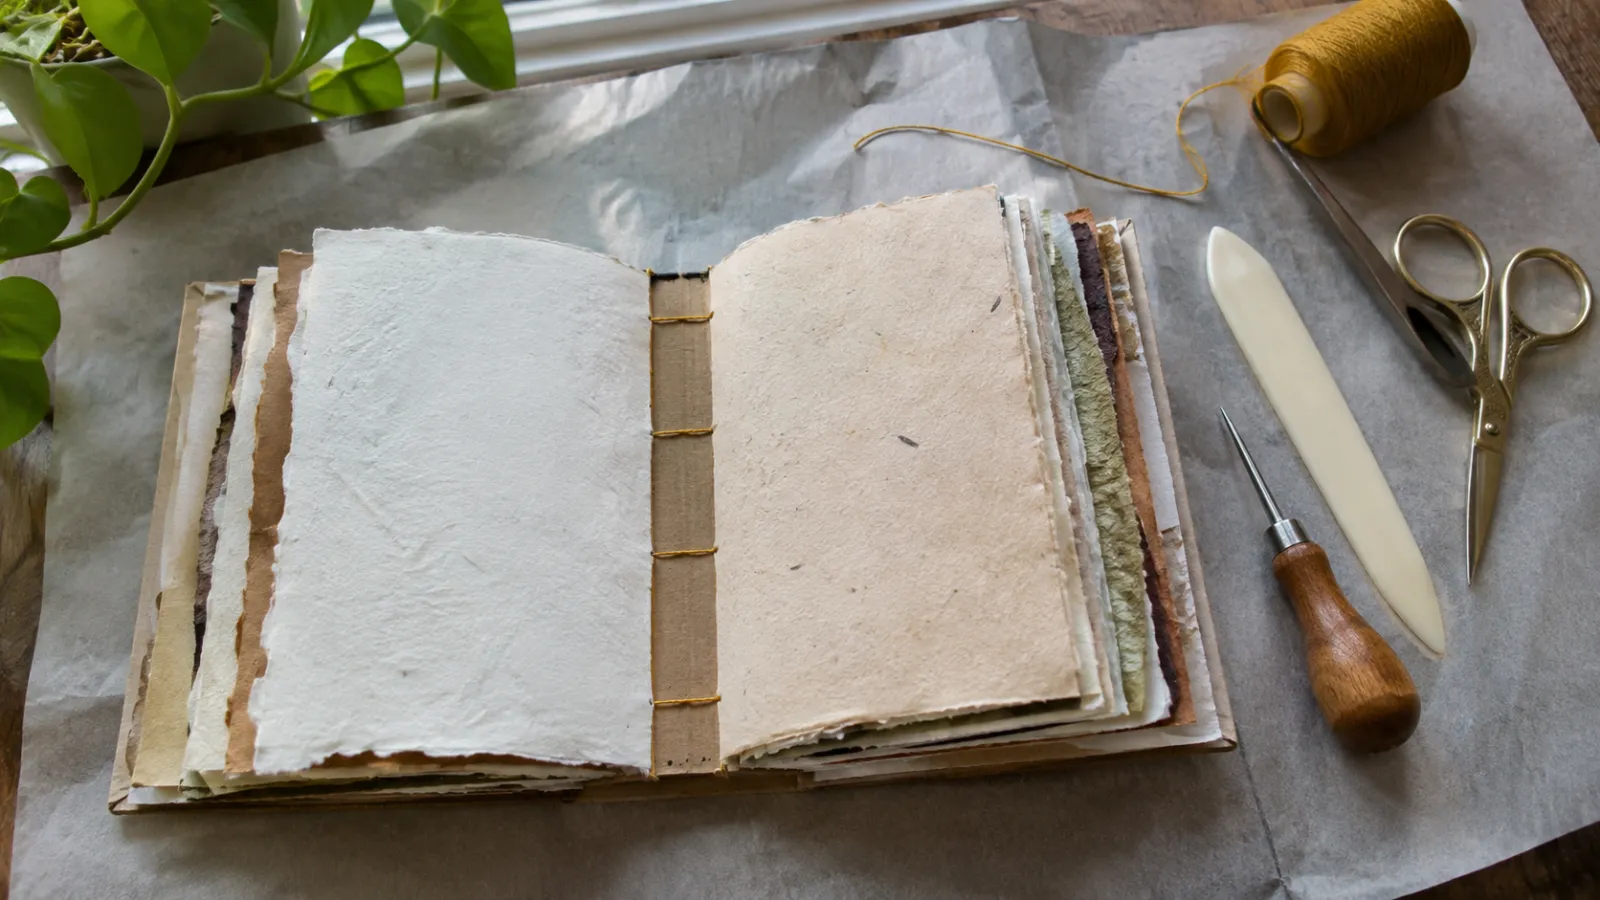
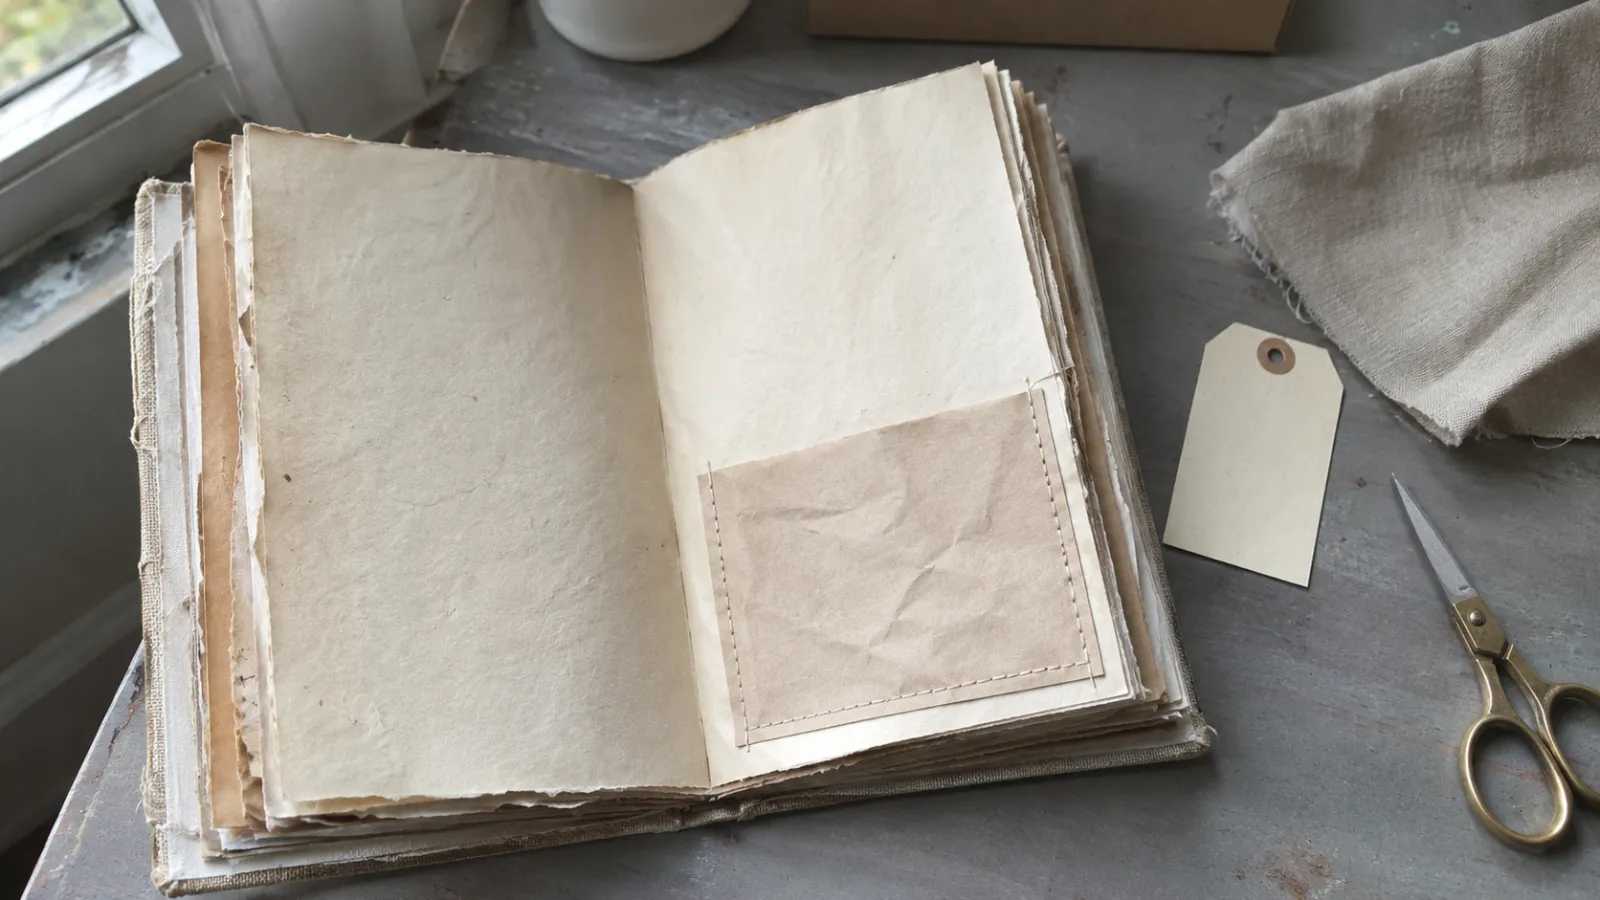
A junk journal starts with a pile of scrap paper. Fold and nest the sheets into one booklet, called a signature, and sew it into a cover with a three-hole pamphlet stitch. You can then add pockets and tags for whatever you want to keep inside. The binding takes basic hand tools: a bookbinding awl for punching the sewing holes, a bone folder for creasing paper, a blunt needle, and waxed linen thread. An old book cover or recycled packaging cardboard makes a protective cover for a journal that opens flat and holds writing, mementos, and collage.
The pages are deliberately irregular. Where a manufactured notebook has a uniform pad of paper, a junk journal mixes discarded book pages with music sheets, envelopes, kraft paper, and ledger sheets. That mix gives the book its texture. Once you understand how the binding holds together, you can change the size and paper mix for your next journal.
The Basic Tools and What Each One Does
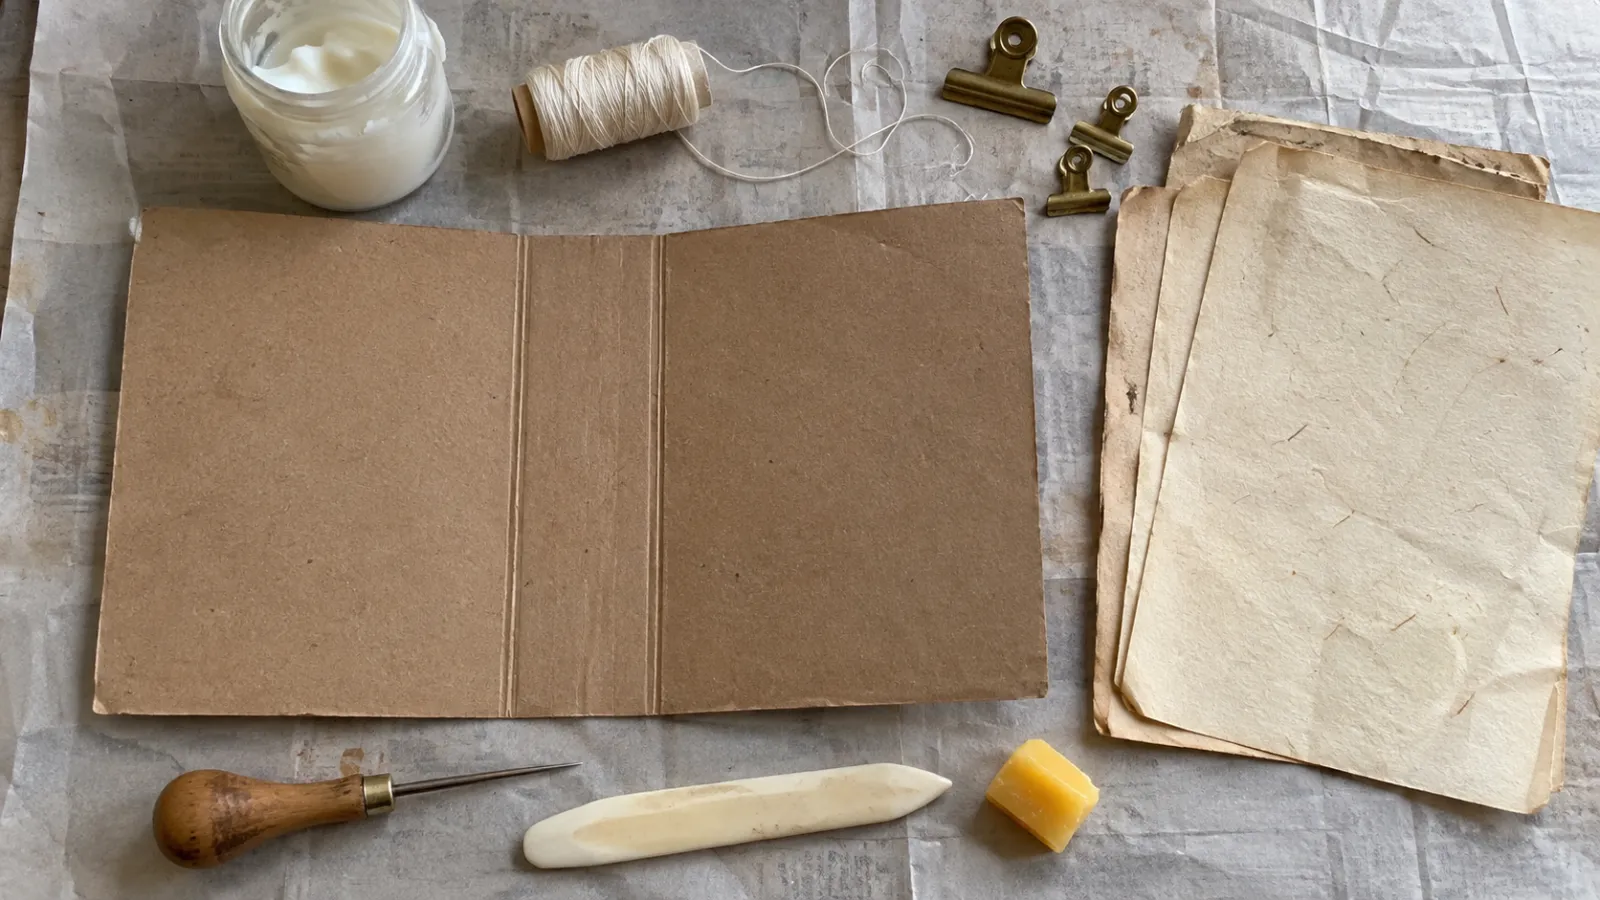
Most of the care in bookbinding goes into handling the paper and keeping the thread at the right tension. Household substitutes can work in a pinch, but these four tools make the work more reliable and help you avoid damaging the pages.
The Bookbinding Awl
A bookbinding awl has a sharp, tapered steel point and a rounded wooden handle. Use it to punch clean sewing holes through the folded sheets without tearing them.
An awl helps you place a small hole on the fold. If you use a pushpin instead, support the paper and check that the needle passes through without forcing it. Avoid cutting a slit with scissors, which can spread when you pull the thread.
The Bone Folder
A bone folder is a smooth tool with a dull edge, traditionally made from animal bone. You can also buy versions made from dense plastic or teflon. Use the edge to score straight lines and press folds flat.
Folding heavy paper with your fingers leaves skin oils on the sheet and soft, uneven ridges along the crease. A fingernail can leave a glossy streak or crack the coating on a printed page if you press too hard. A bone folder lets you press along the crease with even pressure. Try it on a scrap first if the paper has a delicate surface.
Waxed Linen Thread
Binding thread needs to take a firm pull without snapping or stretching. Unwaxed cotton sewing thread often tangles or frays as it rubs against the paper. It can also cut through a soft fold like a wire.
Waxed linen thread, typically 3-ply or 4-ply, is standard for hand-sewn bindings. The wax helps the thread pass through the holes with fewer tangles and gives it some grip while you tie the final knot. If you have unwaxed linen thread or cotton embroidery floss, run it across a small block of pure beeswax two or three times before threading the needle.
The Blunt Needle
Look for a bookbinding needle or a size 18 or size 20 tapestry needle with a blunt tip and a long eye. The blunt point matters when you pass through a hole that already holds thread. A sharp embroidery needle frequently catches and splits that thread, weakening the stitch. A blunt needle follows the punched hole and pushes past the thread without cutting it.
Everyday Household Supplies
Alongside the four binding tools, set out these household supplies:
- A steel ruler with a non-slip backing for measuring and tearing straight edges.
- A craft knife or utility blade for trimming cardboard and thick papers.
- Two large binder clips or wooden clothespins to hold paper stacks in alignment during punching and sewing.
- A standard pencil for marking sewing stations.
- Polyvinyl acetate (PVA) glue or an acid-free glue stick for constructing pockets and gluing paper linings.
- A cutting mat or dense greyboard scrap to protect your tabletop.
Choosing and Preparing the Cover
The cover protects the pages and supports the spine, so it needs to be sturdy. You can remove the pages from a discarded hardcover and reuse its cover, or build one from heavy recycled cardboard.
Option A: Repurposing an Old Hardcover Book
A discarded hardcover gives you a ready-made cover with a finished exterior. Try thrift stores or library book sales, or use a damaged volume you already have. Look for one with damaged or unreadable pages and an intact cloth or paper cover.
- Open the front cover completely flat on your cutting mat to expose the inner hinge between the text block and the endpaper.
- Holding a sharp craft knife at a shallow angle, slice gently through the paper hinge connecting the first page to the front cover board. Cut only through the paper and the woven spine gauze underneath, taking care not to cut through the exterior book cloth.
- Open the back cover and repeat the same cut along the rear hinge.
- Lift the old interior text block away from the cover. The spine of the book should remain hollow and flexible.
- Scrape away any loose glue crusts or frayed paper scraps from the inside of the spine using the edge of a bone folder. If the inside of the spine looks raw or weakened, brush a thin layer of PVA glue over the interior channel and adhere a strip of cotton fabric or heavy kraft paper across the spine, extending one inch onto each cover board to reinforce the joint.
Option B: Building a Cardboard Cover from Scratch
To build a three-piece cover from scratch, use clean packaging cardboard, a shipping box, or 2 mm greyboard.
- Choose your page size first. The worked example below uses folded pages 8 inches tall by 5 inches wide.
- Cut two identical pieces of heavy board measuring 8.75 inches tall by 5.75 inches wide. These form the front and back cover boards. The extra three-quarters of an inch in each direction leaves about 3/8 inch of board beyond the pages at the top and bottom, and a little room at the fore-edge, so the pages stay tucked inside the cover.
- Cut a spine piece measuring 8.75 inches tall by 1 inch wide from the same board. This is a roomy spine for the single signature in this example and leaves space for pockets and tags.
- Lay the three pieces flat on your table: front cover on the left, spine in the center, back cover on the right. Leave a small hinge gap between the spine strip and each board, at least as wide as the thickness of your board. Test by lifting each board before the glue dries; it must swing freely without rubbing the spine.
- Join the pieces by pasting book cloth, cotton fabric, or heavy kraft paper across the exterior joints with PVA glue. Smooth out air bubbles with your bone folder. Let the assembly dry flat under a heavy book until the glue has set, then open and close both hinges to check them.
Gathering and Sizing Your Papers
Choose papers of different weights and textures, with colors and ages that you like together. The mix makes the journal interesting to read through and write in.
Selecting Paper Types
Gather an assortment of clean papers from around your home:
- Vintage book pages: Look for damaged dictionaries, poetry volumes, or foreign language texts with aged, warm paper tones.
- Ledger and graph paper: Old accounting sheets, engineering grid paper, and music manuscript paper give you lines to write on.
- Envelopes and paper bags: Used mail envelopes, glassine bags, and brown grocery bag paper give you ready-made pockets and foldout flaps.
- Writing paper: Blank sketch paper, lined notebook paper, and standard copy paper give the writer clean areas for pen notes.
- Scrapbook cardstock: Patterned cardstock adds stiffness and color throughout the signatures.
When choosing discarded book pages, check margin width and paper condition. If you want to leave room for handwritten commentary or reading notes on printed text, the principles of margin annotation can help you plan clean note spaces without tearing aged pulp.
Understanding Paper Grain Direction
Paper has a grain: most of its wood pulp fibers line up in the same direction during manufacture. Fold parallel to that direction and the crease will be smooth and relaxed, staying closed on its own. Fold against it and a heavier or coated sheet may resist the crease or crack. Try both directions on a scrap when you are unsure.
To find the grain direction of any paper sheet:
- Hold a rectangular sheet gently between both hands along its short sides and bend it into an arch without creasing it. Note the amount of resistance you feel.
- Turn the sheet ninety degrees, hold it along the long sides, and bend it into an arch again.
- Compare the two motions. The direction that bends easily with little resistance is parallel to the paper grain. The direction that feels stiff and resists the curve is running cross-grain.
When you can, arrange your sheets so that the grain runs vertically, parallel to the spine. The University of Iowa Libraries pamphlet-binding guide shows how a single folded section is punched and sewn through its crease.
Sizing and Trimming the Pages
For a cover that measures 8.75 inches tall by 5.75 inches wide, your base interior pages should measure 8 inches tall by 10 inches wide when laid flat. When folded in half, each sheet becomes a two-page folio measuring 8 inches tall by 5 inches wide, leaving comfortable margins inside the cover.
Every sheet you sew must reach all three sewing holes, so sew only full-size sheets. Smaller pieces, such as a 4-inch wide ledger page or a 6-inch tall envelope, are glued or clipped onto the sewn pages afterward. You will see parts of the pages behind them when you turn a leaf, and the uneven edges give you places to attach tabs and clips.
For clean edges, use a metal ruler and craft knife on your cutting mat. For a torn edge, place the metal ruler firmly against the paper and tear the exposed edge upward toward the ruler to create an authentic deckled edge.
Assembling the Signature
A signature is a group of folded sheets nested into one booklet. For this first journal, gather eight to ten sheets of mixed paper. Once folded, they give you 32 to 40 page faces. Keep especially thick cardstock or envelopes to a minimum so you can still close the booklet comfortably.
Stacking and Nesting the Folios
- Fold each trimmed paper sheet in half widthwise. Run the flat edge of your bone folder along the crease to create a tight, crisp fold.
- Choose one sturdy sheet of patterned cardstock or heavy kraft paper to form the outer wrapper of the signature. The binding thread pulls hardest against this outer sheet.
- Stack the folded folios inside one another, alternating between different paper styles. Place a lined writing sheet next to a vintage book page, followed by a folded envelope, and then a piece of grid paper.
- Tap the head (the top edge) and the spine of the nested stack against your tabletop to align the folds flush with one another.
Managing Paper Creep
The more folded sheets you nest together, the farther the inner pages stick out beyond the outer wrapper. This is called paper creep. Each fold adds thickness at the spine and pushes the sheets inside it a little farther out.
Close the signature and look along its outer edge. A little creep suits a handmade junk journal, so you can leave it. If the inner sheets stick out beyond the journal cover, though, trim them back. Hold the assembled booklet firmly closed against the cutting mat and use your metal ruler and craft knife to cut the outer edge flush.
Clamp two binder clips on the top and bottom edges of the signature to prevent the papers from shifting during the next steps.
Punching the Sewing Stations
Use a measuring template to place the holes so the pages hang straight and turn smoothly. A template helps you put the same holes in the signature and cover.
Making a Punching Jig
A punching jig is a folded strip of cardstock cut to the exact height of your signature spine (in this case, 8 inches tall).
- Cut a strip of heavy cardstock 1 inch wide and 8 inches long.
- Fold the strip in half lengthwise so that it forms a V-shaped trough.
- Mark the center of the fold, 4 inches from either end, as Station 1. Mark Station 2 at 1 inch from the top edge and Station 3 at 1 inch from the bottom edge. Keep all three marks on the fold.
- Use your awl to punch a clean hole through each pencil mark directly on the fold line of the jig.
Punching the Signatures
- Open your assembled paper signature to the center spread, where the fold lies exposed.
- Place the folded jig inside the center fold, making sure the top and bottom of the jig line up with the top and bottom of your signature.
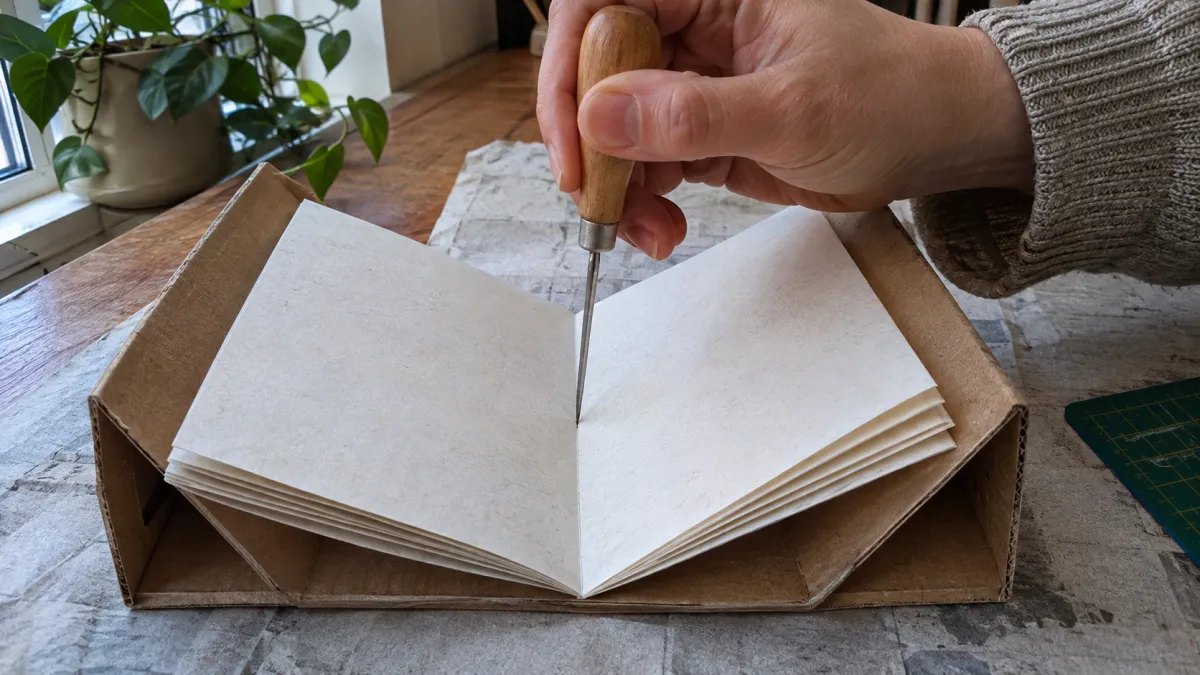
- Rest the signature fold in the valley of an open discarded paperback or a wooden punching cradle. The two sides need support so the awl enters the fold rather than slipping off it.
- Holding the signature and jig firmly in the valley, insert your awl straight through each of the three holes in the jig. Push the awl tip through all paper layers until the metal shaft passes cleanly through the spine fold. Keep the awl perpendicular to the fold line so the exit holes on the outside spine are centered directly on the crease.
- Remove the jig and set the punched signature aside.
Punching the Cover Spine
Center the same jig vertically on the inside of the prepared cover spine, leaving an equal margin above and below its ends. In this example, an 8-inch jig leaves 3/8 inch at each end of an 8.75-inch cover. Mark its three positions, then punch through the spine from the inside outward. Check that the awl exits near the middle of the spine strip.
Sewing the Three-Hole Pamphlet Stitch
A three-hole pamphlet stitch secures one signature with a short length of thread. The Library of Congress pamphlet-stitch handout gives the same route used below: center, top, bottom, then center again. The University of Utah Book Arts lesson likewise aligns a folded signature with its cover and ties the ends over the center stitch.
Thread Length and Needle Preparation
Measure a piece of waxed linen thread about three times the height of your journal spine. For the 8.75-inch cover in this example, cut roughly 27 inches of thread. Cut the thread cleanly with sharp scissors. Pass one end through the eye of your blunt needle, pulling a three-inch tail through to keep the needle anchored without knotting the thread at the eye.
Step 1: The Center Hole Entry
Align the punched holes of your paper signature with the three holes in the cover spine. Open the signature to the center spread.
From the inside of the signature, push the needle outward through the center hole (Station 1), passing through all paper layers and the cover spine. Pull the thread through to the outside of the journal, leaving a loose tail of thread roughly 3 to 4 inches long inside the signature. Hold this tail with your non-dominant thumb or tape it lightly with low-tack masking tape so it does not pull through.
Step 2: The Top Hole Entry
Move the needle up along the exterior spine and pass it through the top hole (Station 2) from the outside into the inside of the journal. Pull the thread gently until the strand lies flat against the exterior spine between Station 1 and Station 2.
Step 3: Traveling to the Bottom Hole
Inside the journal, pull the needle down past the center hole all the way to the bottom hole (Station 3). Do not enter the center hole yet. Push the needle through Station 3 from the inside out to the exterior spine. Pull the thread snug until there are no loose loops inside the booklet.
Step 4: Returning to the Center
On the exterior of the spine, bring the needle back to the center hole (Station 1). Push the needle through Station 1 from the outside to the inside.
At Station 1, guide the needle beside the thread already in the hole. Piercing that strand weakens the linen, so take your time with this pass.
Step 5: Positioning and Tensioning
You now have two thread tails on the inside of the signature at the center hole: the starting tail and the working thread attached to the needle.
Look at the inside stitch: a long thread line runs from the top hole down to the bottom hole across the center spread. Position your two loose thread ends so that one end sits to the left of this long stitch, and the other end sits to the right.
Gently tug both thread ends in opposite directions, pulling parallel to the spine crease (one end pulled toward the top, the other toward the bottom). Never yank threads outward toward your body at a right angle to the fold, as this motion can tear the paper holes open. The thread should feel firm and taut like a guitar string, with no slack on either the inside or outside of the spine.
Step 6: Tying the Binding Knot
Tie the two thread ends together over the long central stitch using a secure square knot (right over left, then left over right). Because the long central thread is held between the halves of your knot, the tension cannot slip.
Trim the thread ends to approximately 1/2 inch. You can leave the thread ends visible, tuck them under the long stitch, or tie small decorative brass charms or glass beads onto the tails before trimming.
Constructing Pockets, Tuck Spots, and Tags
More pocket and page designs, each with its own steps, are collected in junk journal ideas.
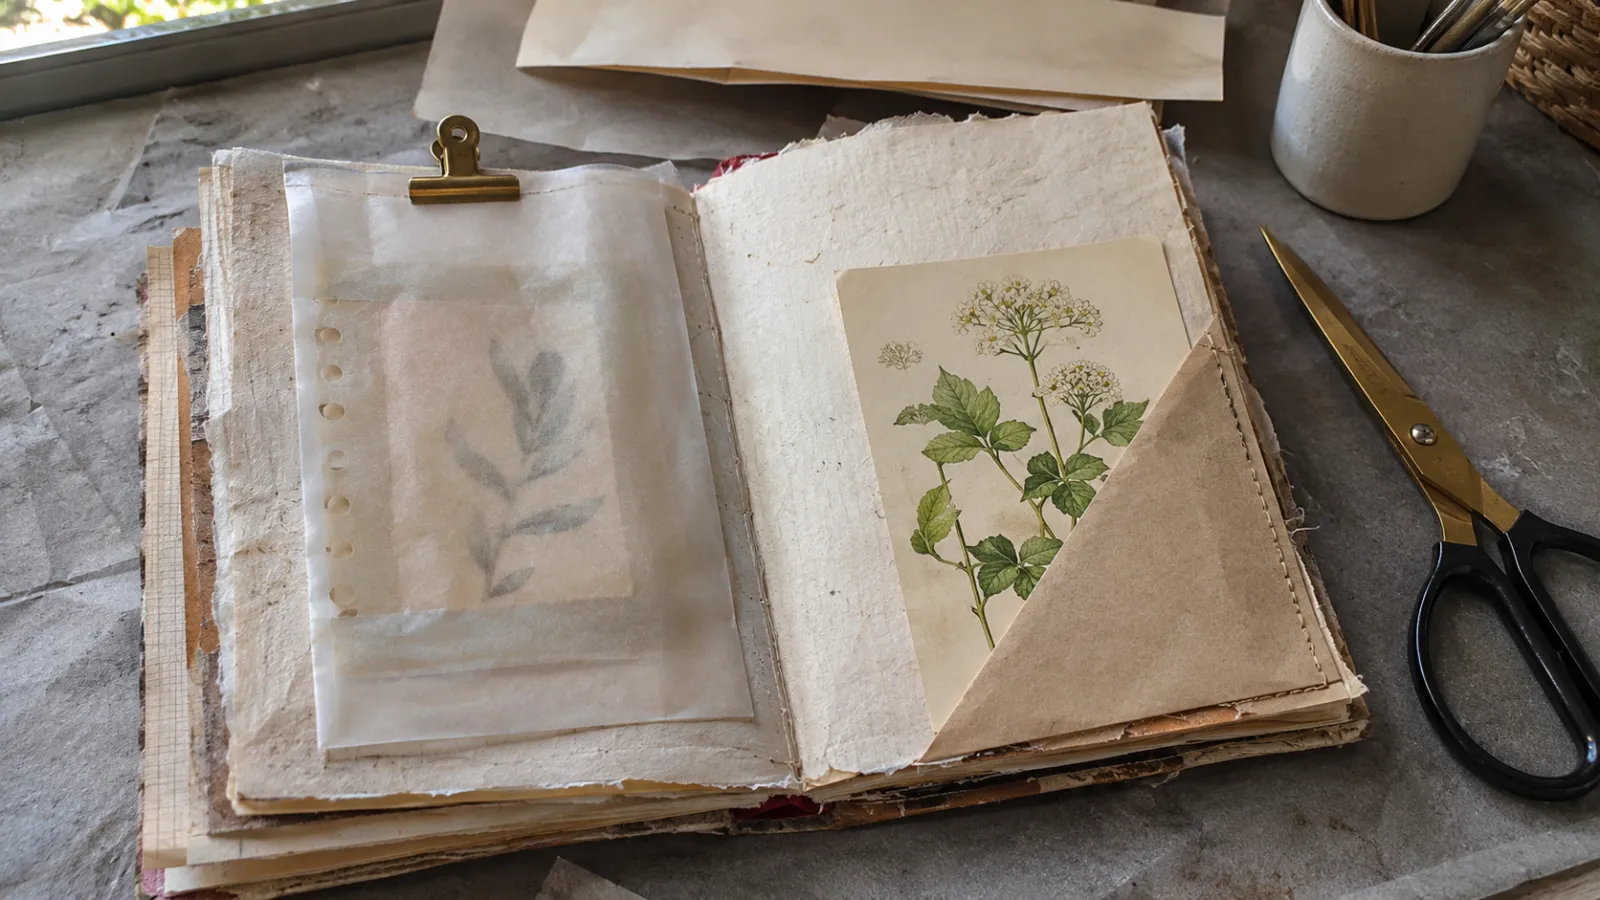
Now the pages are bound, you can add pockets and tags for memorabilia, loose receipts, private notes, and photographs.
Basic Corner Pockets
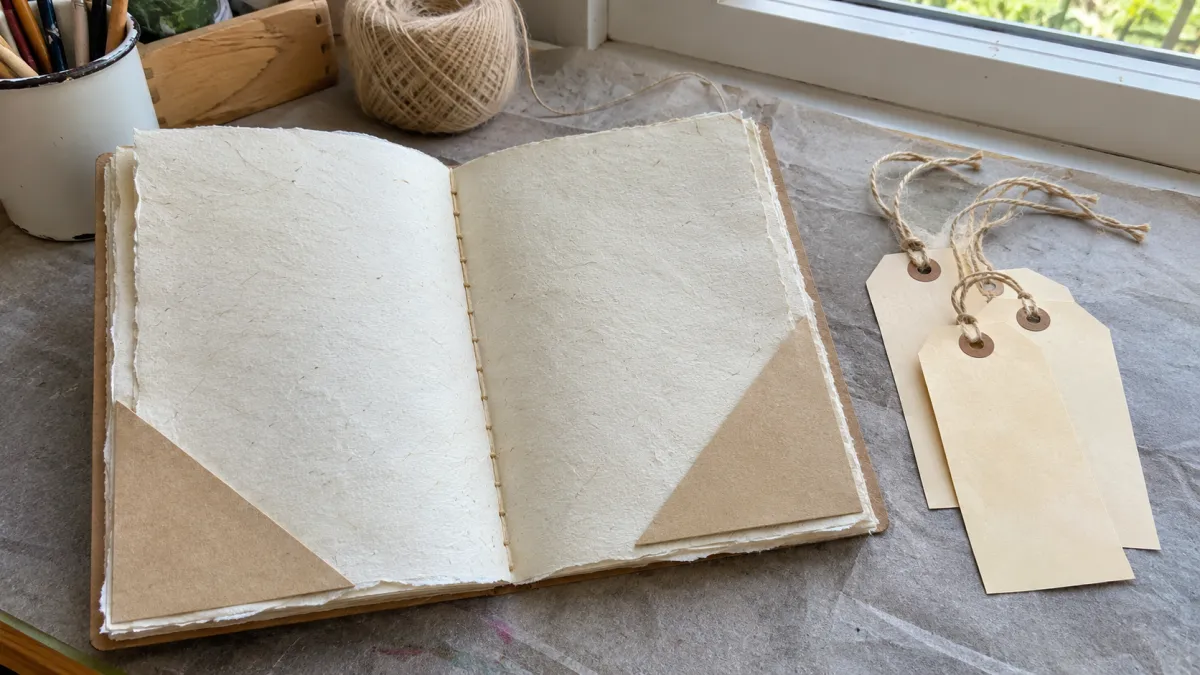
A corner pocket holds small pieces of ephemera behind a diagonal opening:
- Cut a 3.5-inch square of sturdy cardstock or heavy vintage book paper.
- Cut the square diagonally from corner to corner to produce two identical right triangles.
- To attach a triangle to the bottom outer corner of a page, apply a very narrow line of PVA glue (no wider than 1/8 inch) along only the bottom edge and the vertical outer edge of the triangle. Leave the diagonal edge free of glue.
- Press the triangle onto the page corner and burnish lightly with your bone folder. Once the glue dries, the open diagonal edge accepts tags, tickets, or photos.
Side-Loading Envelopes
To add a pocket after binding, glue a recycled envelope onto a finished page:
- Take a standard business envelope or greeting card envelope.
- Seal the gummed flap closed.
- Using your ruler and craft knife, trim a clean sliver (about 1/16 inch) off one of the short side edges of the envelope.
- The sealed envelope is now a pocket that opens at the side. Glue its back onto a journal page, keeping the opening clear.
Making Manila Shipping Tags
Manila shipping tags give you room to write and stand out against patterned pages:
- Cut a strip of heavy manila cardstock measuring 3 inches wide by 5 inches tall.
- To create the classic tag shape, measure 3/4 inch down from the top edge on each vertical side, and 3/4 inch inward from each side along the top horizontal edge. Use a craft knife to slice off the two top corners diagonally between those marks.
- Punch a single hole centered 1/2 inch below the top edge.
- Reinforce the hole by gluing a small punched cardstock donut or reinforcement ring over the hole on both sides.
- Thread an 8-inch length of cotton baker twine or jute string through the hole, looping it through itself in a lark's head knot.
- Slide the finished tag into a corner pocket or slip it between two pages.
Finishing and Reinforcing the Spine
Once the signature is sewn into the cover, inspect the exterior spine. The linen stitches will be visible along the outside of the cover spine.
To protect the binding thread from shelf friction, add a decorative wrap over the spine:
- Cut a strip of book cloth or cotton fabric long enough to cover the spine from top to bottom and wide enough to reach a little onto each cover board.
- Apply a thin, even coat of PVA glue to the back of the fabric strip using a flat brush.
- Center the fabric over the exterior spine and press it down over the stitches. Ease the extra width across the hinges and onto the cover boards without pulling the cloth taut across the gaps.
- Smooth the fabric down with your bone folder, pressing it neatly into the hinge indentations so the book opens and closes freely. Let the glue cure completely under dry weight.
Common Beginner Mistakes and How to Avoid Them
Small mistakes during assembly can leave you with a book that looks awkward or wears out too soon.
The Alligator Mouth Effect
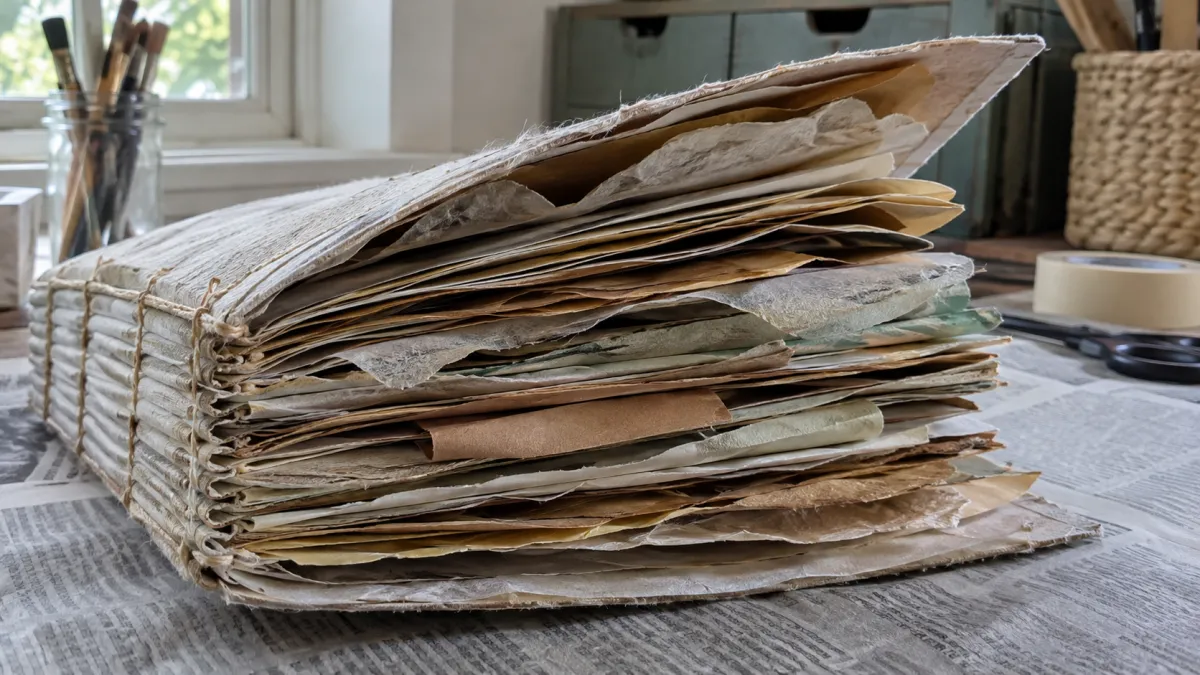
The most common beginner complaint is a journal that flares open at the outer edges while staying narrow at the spine, like an alligator's jaws. Heavy cardstock, bulky pockets, tags, and collage all add thickness. If you do not leave room for them, the book cannot close.
To prevent an alligator mouth:
- Start with the eight to ten sheets in this project. If the booklet resists closing, remove a thick sheet before sewing.
- Leave space in the cover for the pockets and tags you plan to add. Test the closed journal with those pieces tucked inside before deciding whether to add more.
- Secure the finished book with a wraparound closure made of twill ribbon, seam binding, or a wide elastic band.
Torn Sewing Holes
If sewing thread tears through paper folds during the binding process, the cause is usually how you punched the holes or the direction you pulled the thread.
When piercing sewing stations, keep your awl point sharp and centered directly on the fold crease. When pulling thread taut during sewing, always draw the strand parallel to the crease line. Pulling thread outward from the book acts like a cheese wire against soft paper, immediately slicing through the fold.
Warped Pages from Excess Glue
Liquid white school glue contains a lot of water. It makes paper fibers swell and stretch, then buckle as they dry.
For general paper collage and pocket construction, use a quality acid-free glue stick or neutral-pH PVA bookbinding adhesive applied sparingly with a stiff brush. Work from the center of the paper outward to the edges, and always let glued elements dry under the even weight of a flat board or heavy book.
Storing and Preserving Your Finished Journal
Keep your finished journal away from extreme changes in its surroundings. Archival institutions recommend storing bound volumes upright on sturdy shelves with even support on both sides. Lay heavily embellished books flat. Both approaches help prevent rippled spines and distorted joints over time. The NEDCC storage methods and handling practices explain how clean storage with a stable climate protects organic adhesives and paper fibers from becoming brittle too soon.
Frequently Asked Questions
Can I make a junk journal without an awl or bone folder?
Yes, household tools will do if you do not have bookbinding tools yet. A thick darning needle or a sturdy pushpin can punch sewing stations, provided you work slowly into a soft backing like a block of styrofoam or an eraser. For creasing paper, the smooth handle of a wooden spoon or the curved back of a metal butter knife creates neat folds without tearing paper fibers.
What is the difference between a single-signature and a multi-signature junk journal?
A single-signature journal contains one booklet of nested pages sewn directly through the spine of the cover. It is simpler to construct, lies completely flat when opened, and is suited to lightweight memory books or daily journals. A multi-signature journal contains several separate booklets sewn alongside each other across a wider spine. Binding several signatures needs a different hole layout and sewing method. Make the single-signature version above before attempting one.
How do I prevent my journal cover from warping after applying glue?
Cardboard warps when you wet one side unevenly and leave the other dry. Whenever you paste fabric or paper onto the exterior of a cardboard cover, adhere a lining sheet of similar weight onto the interior face. As both sides dry, the shrinking fibers pull against each other with equal tension, so the board stays flat. Let glued covers dry fully under an even weight, with clean release paper between the cover and the weight.
Can I use ordinary sewing thread instead of waxed linen thread?
Standard sewing machine thread is too thin for hand bookbinding and will easily slice through soft paper folds when pulled taut. If you cannot obtain waxed linen cord, use three strands of cotton embroidery floss or heavy buttonhole thread. Always coat the strands with beeswax before sewing to keep them from tangling and give them more grip.