Junk Journal Ideas for Pages, Pockets, and Themes
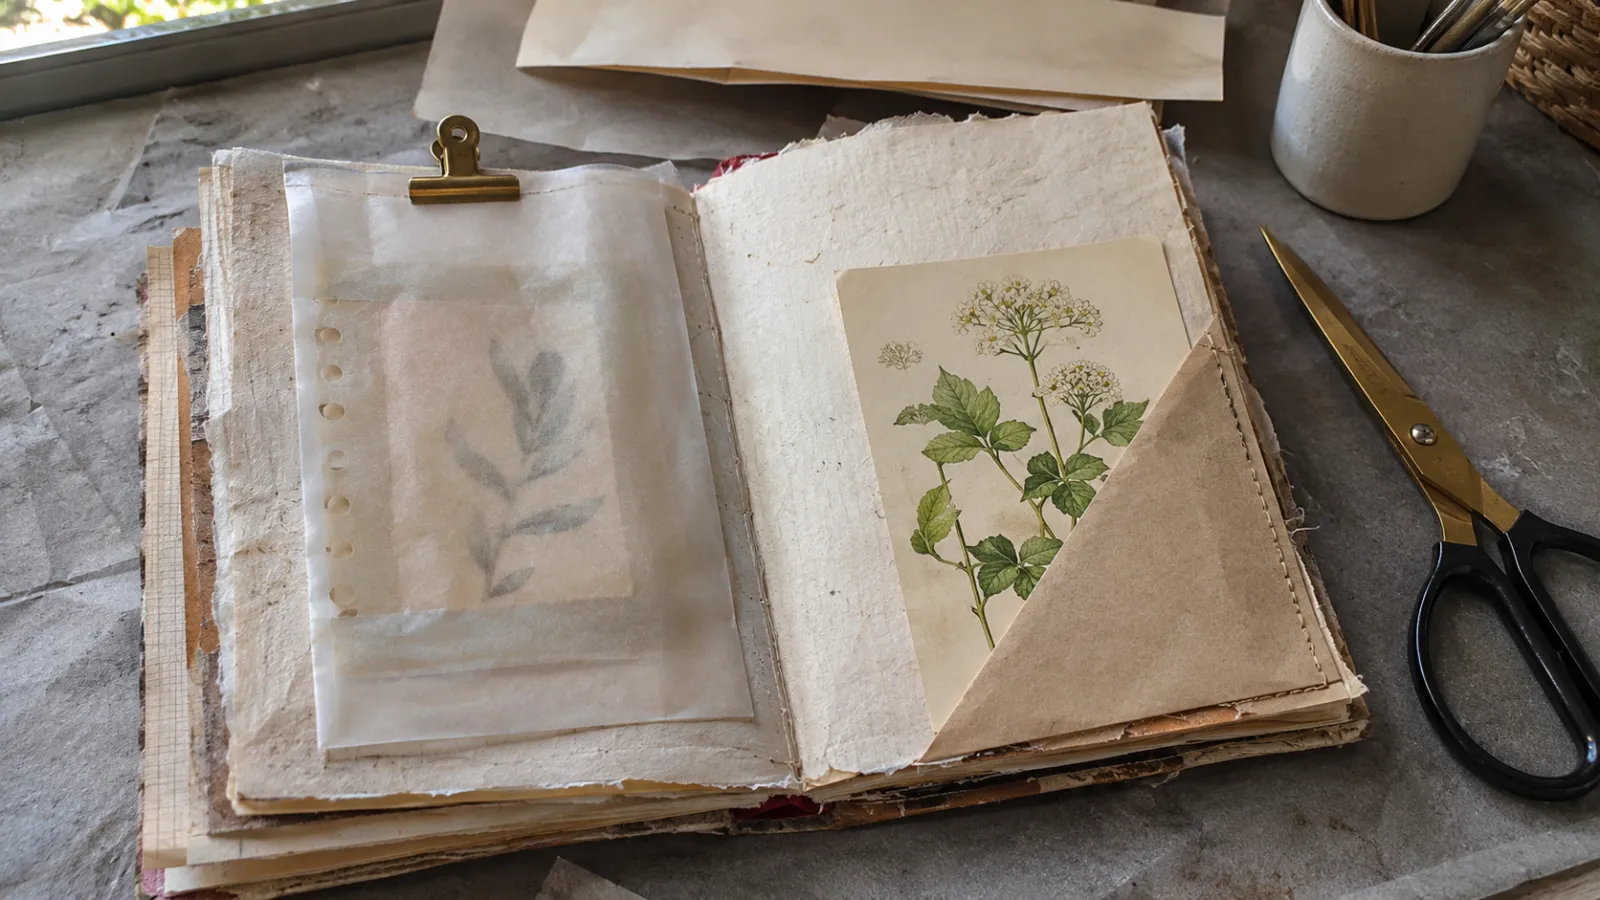
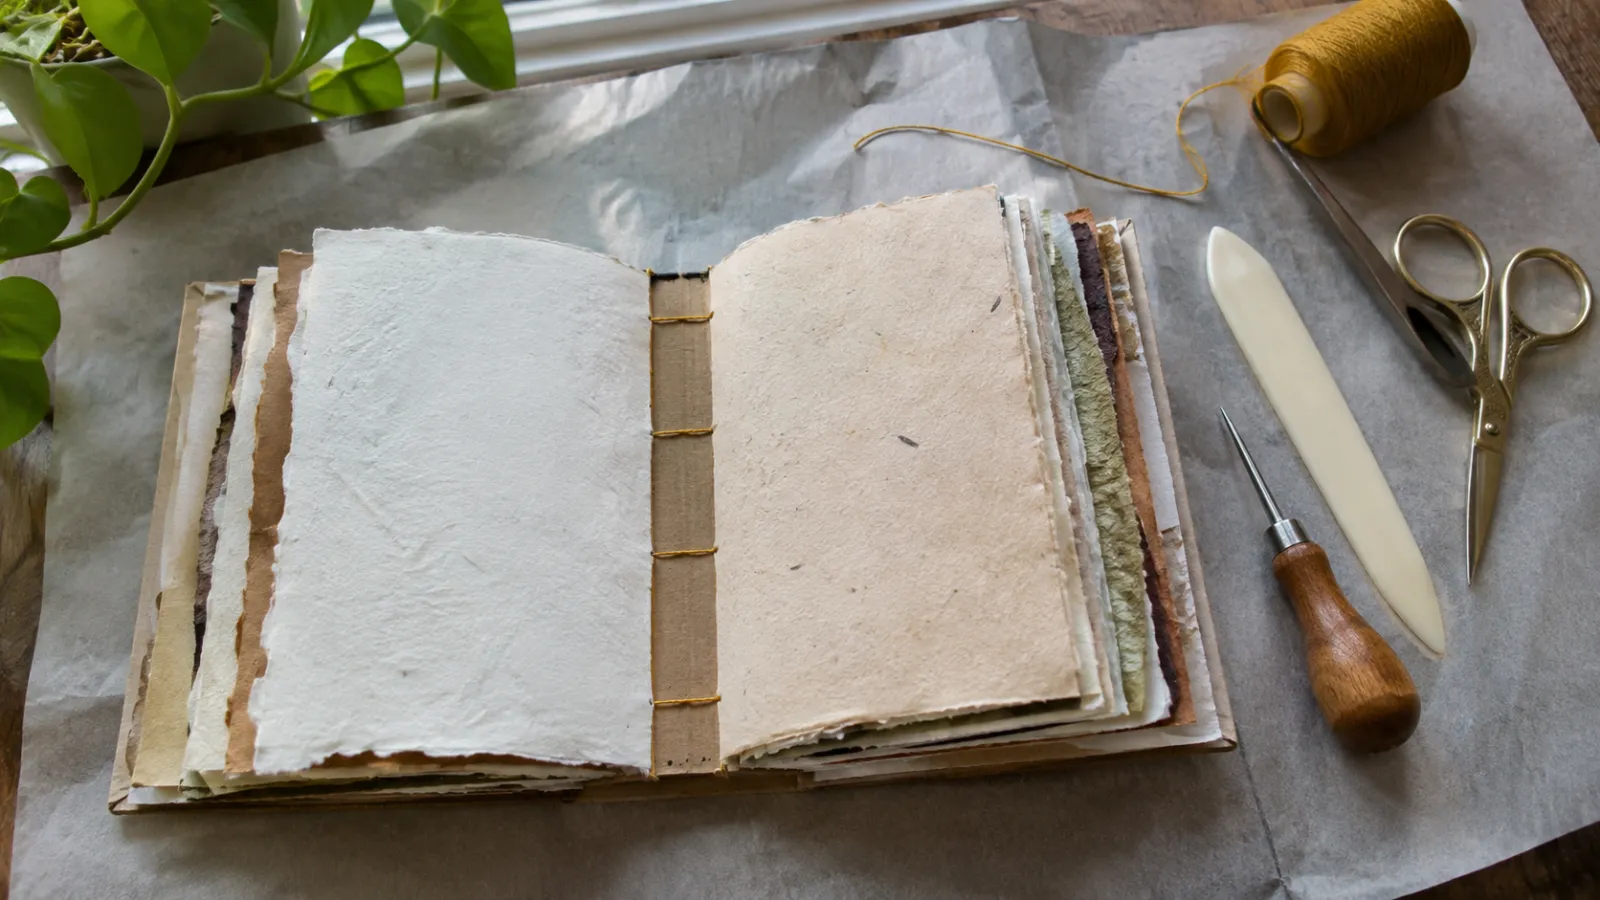
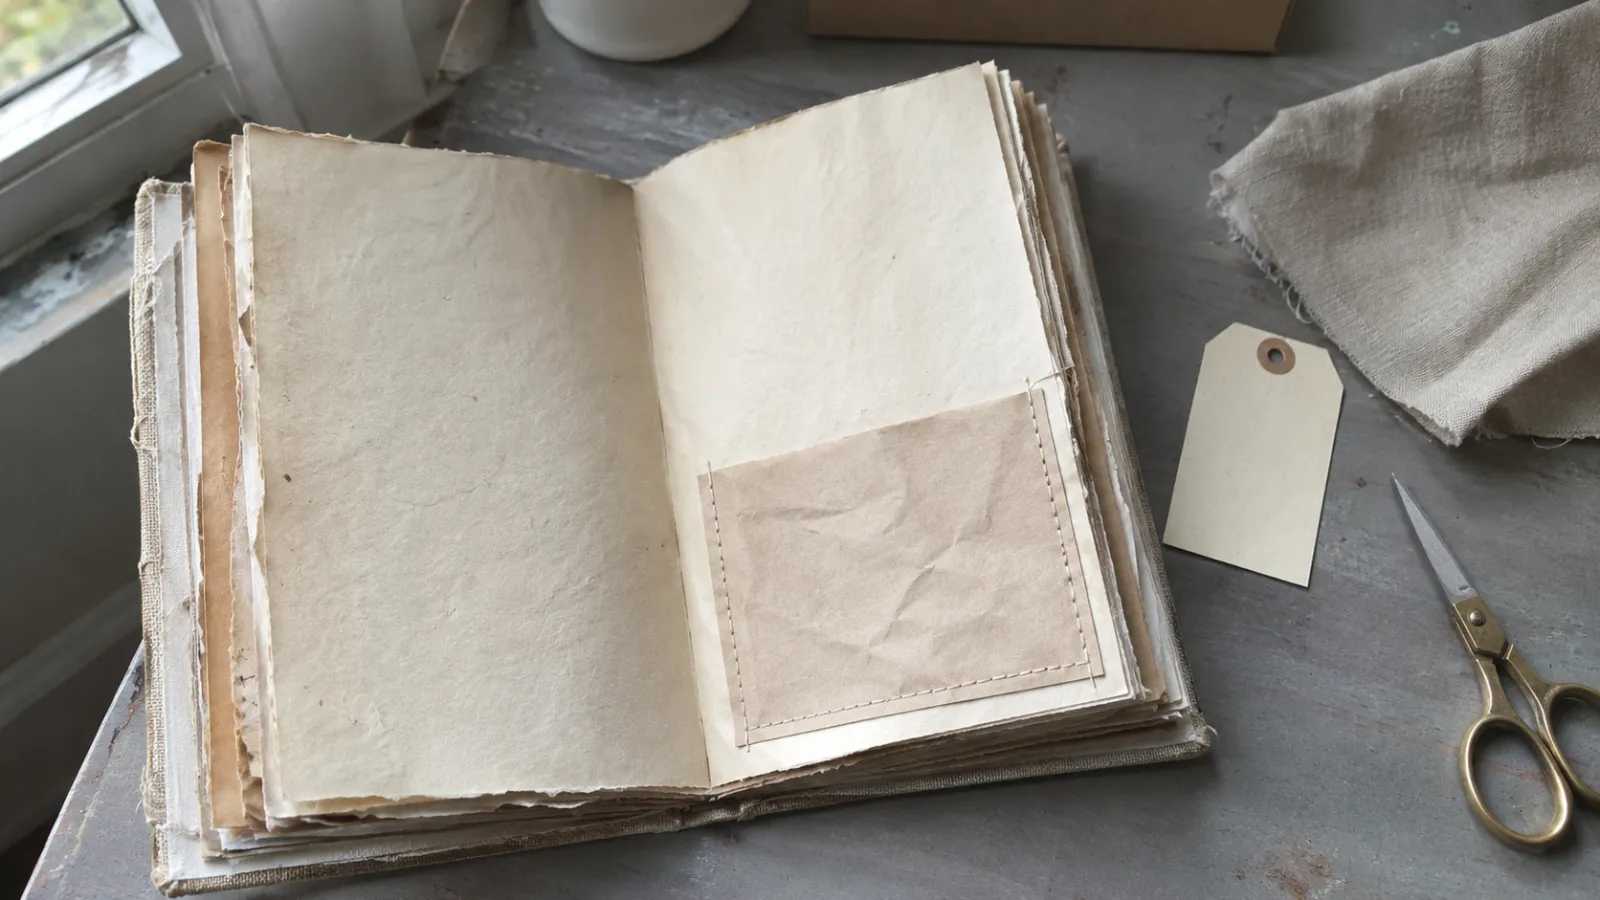
Grocery bags, damaged book pages, tickets, and envelopes can all go into a handmade junk journal. The pages needn't have the even margins or matching paper you would expect in a shop-bought notebook or formal sketchbook. Torn edges and visible stitching belong here. You can start with a craft glue stick, scissors, paper scraps, and a simple sewing needle; expensive art materials and specialist binding equipment aren't necessary. Those basic supplies are enough to make pages, tuck spots, and a journal built around a theme.
A blank signature can still be hard to start. Break the work into small projects you can repeat: a background treatment for a page, a pocket to hold loose papers, or a theme to guide your choices. Once you know a few of these techniques, you have somewhere to begin each time you sit down to fill a page.
Essential Materials and Tools for Crafting at Home
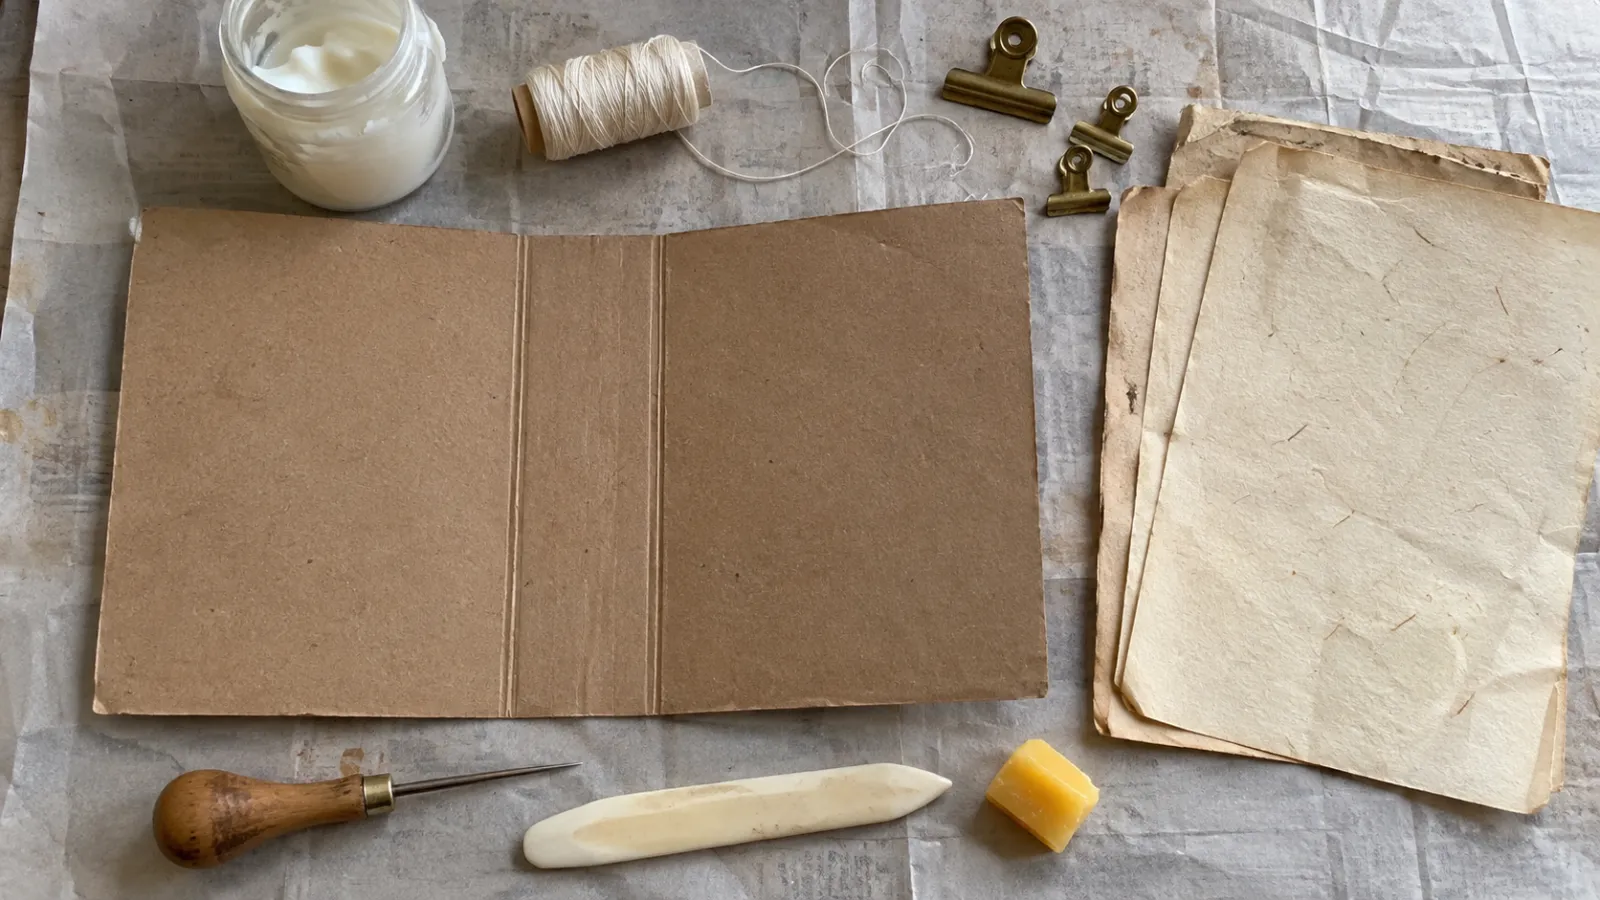
Keep a small set of tools together before you start. When you work with a mix of old papers, you need glue and cutting tools you can control without damaging the delicate pieces.
Reliable Adhesives and Fasteners
The wrong adhesive is the most common reason a paper project fails. School glue contains enough water to wrinkle and curl thin paper. Household cellophane tape causes trouble as it ages: it turns brittle and yellow, leaving a sticky brown residue.
- Acid-free craft glue stick: Use it to secure broad paper scraps, collage pieces, and background layers. Apply a thin, even layer and let it dry before turning the page.
- Liquid polyvinyl acetate (PVA) glue: Use standard neutral-pH liquid PVA glue for structural joints, heavy cardstock pockets, and spine reinforcements. Apply it in a thin bead with a fine nozzle or the tip of a wooden toothpick.
- Double-sided craft tape: Acid-free double-sided tape works well for attaching narrow pocket borders and envelopes where liquid glue might spread into the pocket opening.
- Brass paper fasteners and clips: Brass brads and bulldog clips allow you to attach movable elements, tags, and fold-outs without permanent adhesive.
According to the Library of Congress guidance on caring for albums, pressure-sensitive tapes and rubber-based cements degrade rapidly, staining paper fibers and failing over time. PVA and clips are fine for assembling a journal you handle every day, but for a photograph or letter you want to keep for decades the Library of Congress recommends wheat-starch paste or photo corners instead of tape and clips.
Basic Cutting, Scoring, and Measuring Tools
Clean cuts and firm folds help the pages and pockets hold together. You can still tear the outer edges if you want them to look aged.
- Metal craft ruler: A ruler with a non-slip backing helps guide straight cuts.
- Utility craft knife: A lightweight craft knife with fresh snap-off blades allows you to slice cleanly through thick cardstock, book boards, and envelope windows.
- Self-healing cutting mat: Use one large enough for the paper you are cutting to protect your worktable.
- Bone folder: A traditional bone folder or smooth plastic folding tool creates sharp paper creases, flattens glued seams without scuffing the paper surface, and burnishes tape.
- Soft graphite pencil: Use it to mark cut lines lightly without scoring delicate paper.
Creative Page Ideas to Build Your Signatures
These ideas assume a bound journal to work in; if you have not made one yet, start with how to make a junk journal.
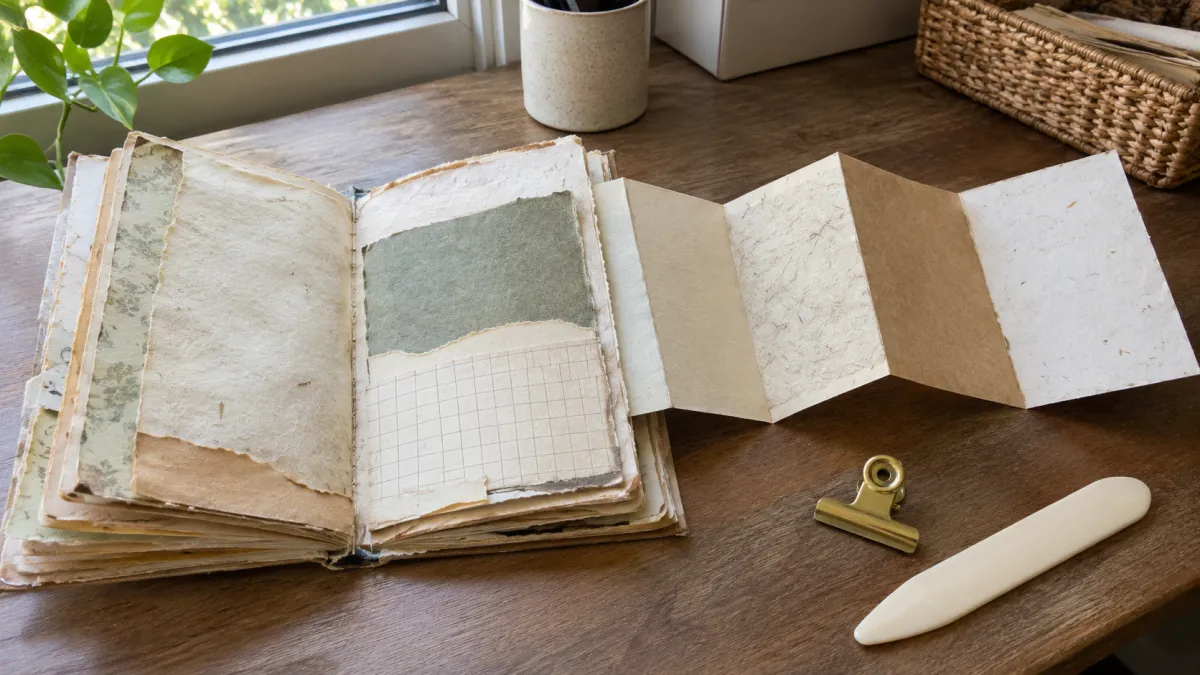
The pages in a signature don't all have to be matching rectangles. Vary their sizes, add a folded extension, or paint a surface so there is something different to see as you turn the pages.
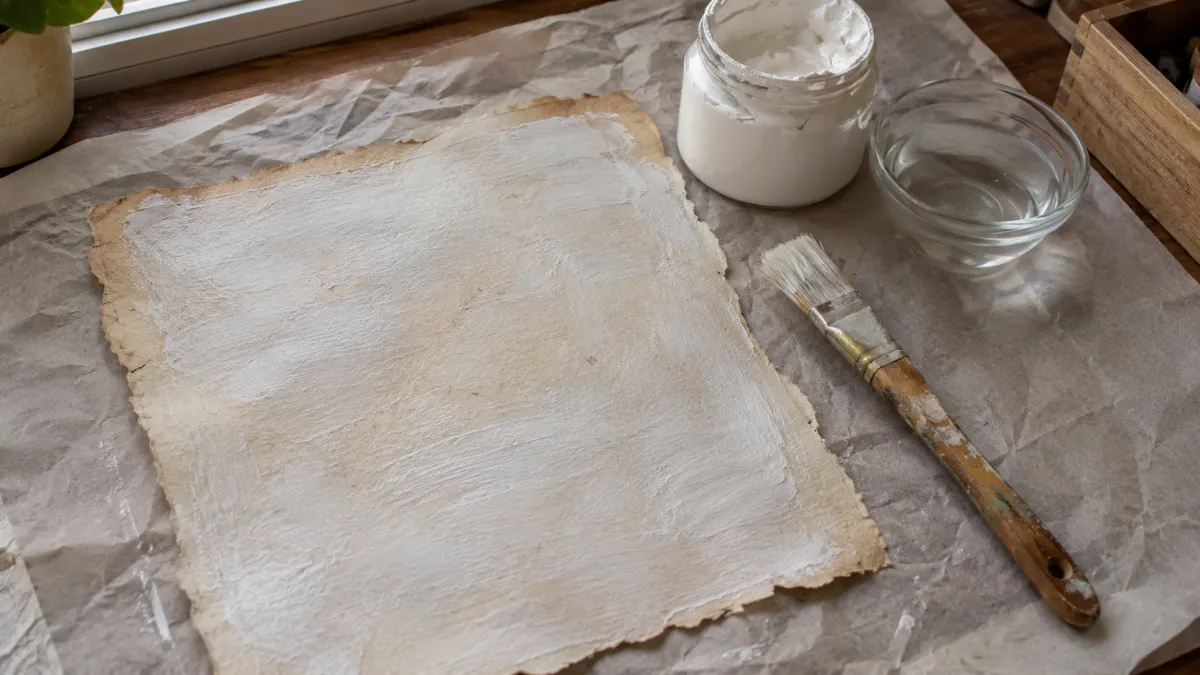
1. The Gesso-Washed Vintage Book Page
An old paperback or dictionary page gives you printed type to work over, though dark text can make your own notes hard to read. A thin gesso wash softens the print without hiding the old page underneath.
What you need:
- A page from a discarded paperback, encyclopedia, or dictionary
- White matte acrylic gesso
- A flat synthetic paintbrush
- A shallow dish of tap water and a scrap piece of cardboard
How to do it:
- Place your book page flat on the scrap cardboard to protect your work surface.
- Dip your brush into the water, then pick up a small dab of white gesso on the tip of the bristles to create a thin, milky slurry.
- Drag the brush in broad, continuous horizontal strokes across the text block, allowing the letters to show through the translucent white film.
- Leave a narrow outer margin untreated to show the aged paper edge.
- Let the page dry completely before binding it into a signature or writing on it.
2. The Double-Flap Envelope Page
A standard mailing envelope makes a sturdy page with compartments already built in.
What you need:
- A business envelope that fits your journal when folded
- A craft utility knife and metal ruler
- Acid-free glue stick
- Bone folder
How to do it:
- Moisten the envelope flap or apply glue stick along the gummed line, then seal the envelope completely flat.
- Using your craft knife and ruler, trim a narrow strip from both short ends of the envelope to create two open side slots.
- Fold the sealed envelope in half vertically so the two short open ends face outward, burnishing the center crease firmly with your bone folder.
- Punch binding holes directly through this new center fold when assembling your journal signature.
- Slip tall journaling cards, tickets, or ephemera into the left and right open chambers once the signature is bound.
3. The Torn Paper Layered Collage Spread
Use the small trimmings left from earlier projects in a layered collage. The overlapping scraps give the page texture as well as using up those leftover pieces.
What you need:
- A sturdy base journal page
- Contrasting paper scraps, such as brown kraft paper, printed sheet music, and grid paper
- Small artist water brush or a damp cotton swab
- Acid-free glue stick
How to do it:
- Trace a line of water with your damp cotton swab along the edges of your paper scraps to weaken the fibers.
- Gently pull the damp paper apart with your fingers, producing a feathered, soft white deckle edge rather than a blunt scissor cut.
- Arrange your scraps on the bottom corner of your page, placing the largest kraft paper piece at the base, overlapping the music sheet in the center, and topping it with the grid paper.
- Coat the back of each piece thoroughly with your glue stick, working from the center outward to avoid folding the delicate wet edges.
- Press each piece down onto the page base, smoothing the collage with a piece of clean scrap paper and your bone folder to push out trapped air bubbles.
4. The Cut-Out Window Page
Cut a window in a page to frame something on the page behind it. An image, stamped motif, or botanical specimen can sit behind the opening.
What you need:
- A sturdy book page or cardstock page
- Craft knife and cutting mat
- Metal ruler and pencil
- A sheet of clear glassine or tracing paper larger than your planned opening
- Double-sided craft tape
How to do it:
- Lay your page on the cutting mat and lightly mark a rectangle in the upper center, leaving a generous paper border on every side.
- Align your metal ruler with the pencil lines and carefully cut out the central paper rectangle with your craft knife.
- Turn the page over to its reverse side and place strips of double-sided tape around all four borders of the cut opening.
- Peel the release backing from the tape and press the glassine sheet firmly over the window opening.
- Flip the page face up to reveal a frosted glassine window that softens whatever artwork sits behind it in the bound signature.
5. The Accordion Fold-Out Extension
An accordion fold-out gives you three times the surface area of a standard page for writing, while folding back within the width of the journal cover.
What you need:
- A strip of lightweight ledger, graph, or sketching paper longer than the journal page is wide
- Bone folder and ruler
- Acid-free glue stick
How to do it:
- Lay the strip horizontally on your work surface.
- Mark two fold lines that divide most of the strip into equal panels, leaving a narrow glue tab at the far right.
- Fold one panel backward and the next forward to make an alternating accordion fold.
- Apply glue stick across the tab.
- Press the glued tab onto the outer vertical edge of an existing page in your journal, aligning the top and bottom margins neatly.
Pockets, Tuck Spots, and Interactive Enclosures
Use pockets and tuck spots for papers you want to take out again. Receipts, letters, postcards, and tags can stay in the journal without being glued to a page.
1. The Classic Right-Triangle Corner Tuck Spot
Start with a corner tuck if you want a simple pocket that works with cards of different heights. It takes very little paper.
What you need:
- A square of patterned paper, heavy book page, or kraft cardstock that fits a corner of your page
- Scissors or craft knife
- Acid-free glue stick or double-sided tape
How to do it:
- Cut the square diagonally from one corner to the opposite corner, making two triangles.
- Select one triangle and position it over the bottom-right or bottom-left corner of your journal page.
- Apply a narrow strip of glue or tape along the bottom and outer side edges only. Leave the diagonal edge free of adhesive.
- Press the triangle firmly into the corner of the page and wipe away any excess glue with a damp cloth.
- Let the adhesive dry completely before sliding a tag or card into the slot.
2. The Gusseted Book Page Bellows Pocket
Folded maps, fabric swatches, and coin packets are too thick for a flat pocket and can strain the page. The folded sides of a bellows pocket open outward to make room for them.
What you need:
- A sturdy book page or piece of kraft cardstock smaller than the journal page
- Bone folder, metal ruler, and pencil
- Liquid PVA glue
- Scissors
How to do it:
- Place your paper face down. Score two parallel lines near the left edge to form a narrow folding tab and pleat.
- Repeat the same spacing along the right edge.
- Score matching lines across the bottom edge.
- Using scissors, cut away the small square intersections where the score lines cross at the bottom-left and bottom-right corners. Miter the remaining tabs slightly at an angle.
- Accordion-fold the score lines into pleats on the left, right, and bottom borders so the sides pop outward like an accordion.
- Apply a thin line of liquid PVA glue only to the outer tabs and press them to your journal page. Let the glue dry before opening the expanding pocket.
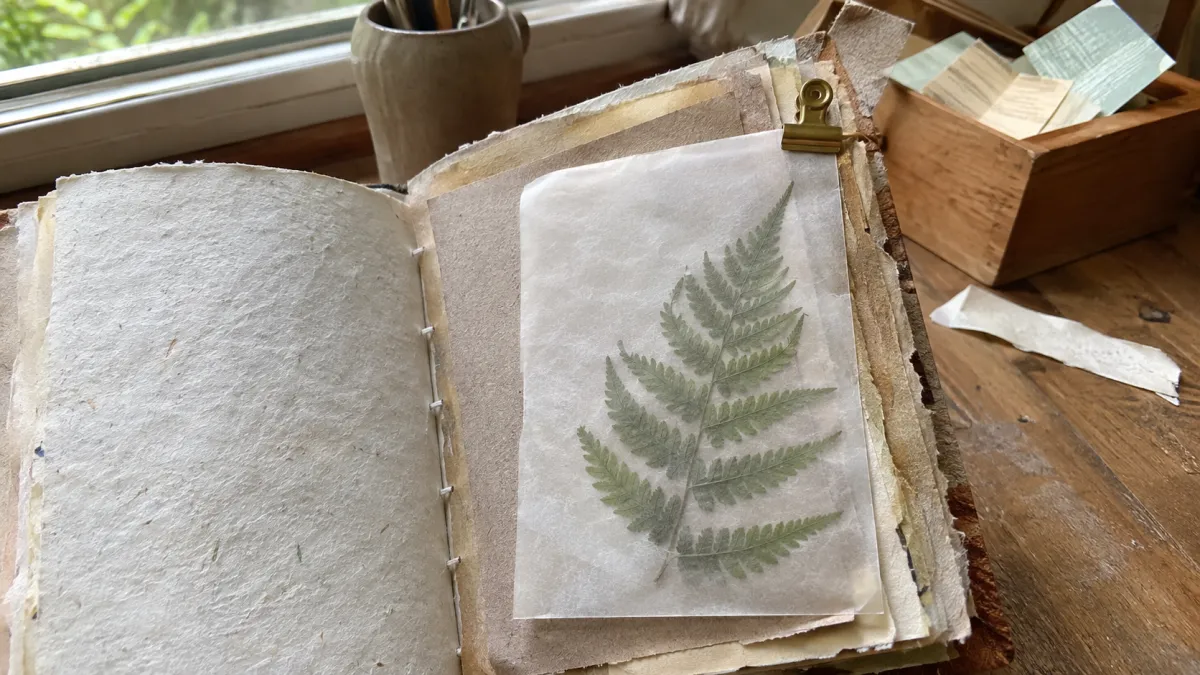
3. The Removable Glassine Clip Tuck
Clip this pocket onto a page so you can move it later. You can take your notes out of the journal or lift the whole pocket to see the artwork beneath it.
What you need:
- A small translucent glassine bag or coin envelope that fits the journal page
- A brass bulldog clip or sturdy metal paperclip
- Manila shipping tag or decorative index card
How to do it:
- Decorate the front of the glassine envelope with a small piece of washi tape, a postage stamp, or a handwritten label.
- Place your journaling card or dried botanical specimen inside the glassine bag.
- Position the bag along the top or side edge of any page in your journal.
- Slide the brass clip over both the glassine bag and the journal page to anchor it in place.
- Unclip the entire unit whenever you want to examine the contents or write on the page underneath.
4. The Double-Tiered Horizontal Pocket
Two layers let you keep short ticket stubs visible in front of taller tags. Each has its own pocket, so the small pieces don't disappear behind the large ones.
What you need:
- Two strips of sturdy paper: a taller back strip and a shorter front strip, both narrower than the journal page
- Double-sided craft tape
- Bone folder
How to do it:
- Apply double-sided tape along the left, right, and bottom edges of the back side of Strip B (the front, shorter pocket).
- Align Strip B with the bottom of Strip A and press it down to join the two strips together.
- Apply double-sided tape along the left, right, and bottom edges of the back of Strip A.
- Mount the combined pocket assembly onto the lower border of your journal page.
- Insert small transit passes or stamps into the front compartment and tall bookmarks or tags into the back compartment.
5. The Secret Spine Gutter Pocket
The inner gutter of a signature is an easy place to overlook when adding pockets. A narrow pocket along the spine fold gives you a hidden place for personal notes.
What you need:
- A strip of medium-weight kraft paper or book page, shorter than the journal page and wide enough to fold lengthwise
- Bone folder and ruler
- Liquid PVA glue
How to do it:
- Score and fold the strip lengthwise down the center to make a long, narrow V-shape.
- Apply a thin bead of liquid PVA glue along the bottom edge of both folded flaps to seal the base of the pocket.
- Glue the two flaps to each other along their outer vertical edge, so the pocket is closed at the bottom and on both sides.
- Brush glue on the back of the pocket, push its folded edge deep into the center crease between two facing journal pages and press the back against the right-hand page.
- Leave the upper edge open so you can slide a tall, folded letter or bookmark down into the binding gutter.
Four Inspiring Themes to Anchor Your Journal
A theme makes it easier to choose which papers belong together. Travel scraps can tell the story of a trip; recipes can become a kitchen journal. It also gives you a way to choose colors and textures that work across the pages.
1. The Travel and Expedition Journal
Keep the ordinary papers you collect on a trip for a travel junk journal. They record where you went without the expense of buying souvenirs.
Key materials to collect:
- Transit tickets, boarding passes, train timetables, and subway tokens
- City street maps, museum brochures, and paper napkins from local cafes
- Foreign currency notes, coin exchange receipts, and baggage claim tags
Color palette and textures: Combine weathered tan kraft paper, muted blueprint blues, sepia inks, and aged cream book pages. Use dark brown archival stamping ink and typewriter fonts to mimic field expedition records.
Worked project idea: The Map-Fold Travel Spread Cut a section of a city road map that will fit inside your closed journal after folding. Fold the outer sides inward to make a gatefold, then glue the back center section onto a journal page. Open the flaps to trace a walking route and add a transit stub or short note. Check that the flaps close within the page edges before the glue dries.
2. The Botanical and Garden Journal
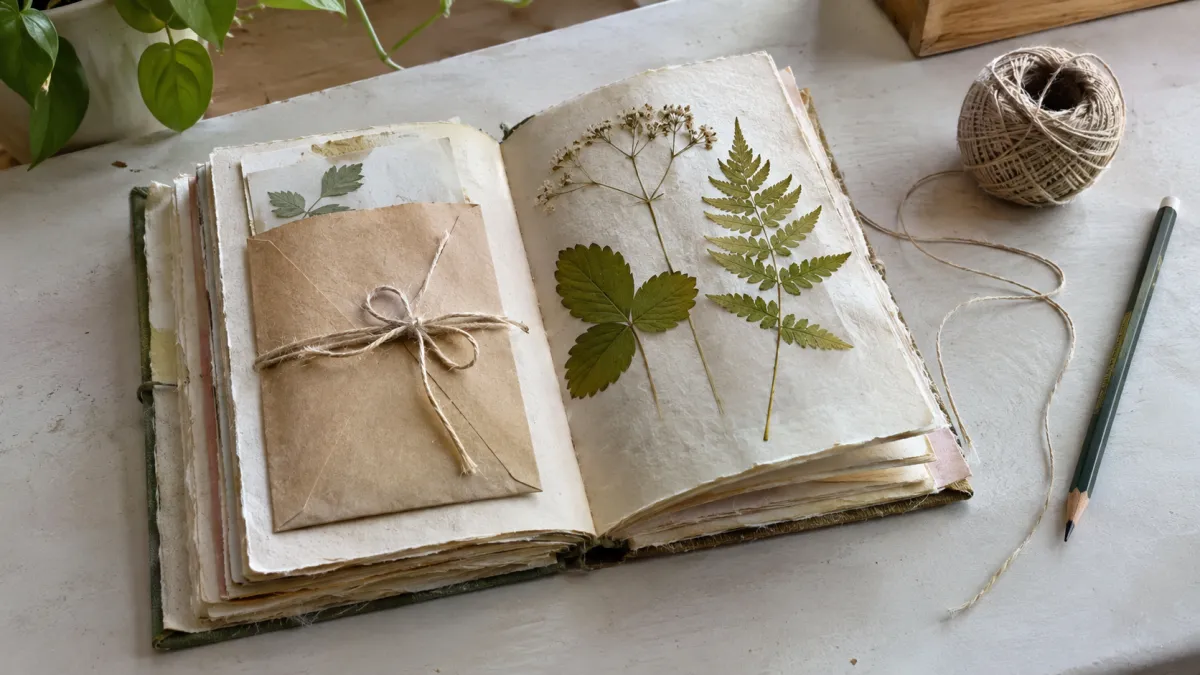
Use a garden journal to record the seasons and your seed choices, with pressed clippings from the backyard alongside your notes.
Key materials to collect:
- Discarded seed packets, garden center receipts, and nursery tags
- Pages from vintage botany books, illustrated floral encyclopedias, and nature guides
- Heavy watercolor paper, rough linen twine, and brown parcel paper
Color palette and textures: Sage greens, earthy ochres, soft creams, and terracotta shades. Pair soft paper textures with brown kraft envelopes and natural twine bow accents.
Worked project idea: The Seed Packet Specimen Pocket Carefully steam open or cut the top flap of a commercial flower or vegetable seed packet. Glue the packet onto a blank journal page along its three outer edges to create a vertical pocket. Cut an acid-free watercolor paper tag to fit inside. When you plant a flower or herb in your garden, press a single dried petal between absorbent blotter sheets, attach the dried specimen to the tag using a tiny dot of PVA glue, and record the planting date and soil conditions in pencil.
For note-taking, the Library of Congress advice on works on paper recommends using a soft graphite pencil because pencil carbon does not fade or bleed through paper over time. Graphite is far safer than liquid water-based pens, which can smudge when exposed to garden dampness.
3. The Family Recipe and Kitchen Heritage Journal
A kitchen journal holds family recipes and the notes passed down with them. Stained, handwritten cards have a place here too.
Key materials to collect:
- Vintage magazine food advertisements, handwritten recipe index cards, and grocery slips
- Glassine bakery bags, parchment paper offcuts, and greaseproof paper
- Cotton apron fabric scraps, vintage tea bag tags, and red-and-white butcher string
Color palette and textures: Warm caramel tones, buttermilk cream, flour-sack neutrals, and classic kitchen gingham accents.
Worked project idea: The Greaseproof Recipe Flap Kitchen journals may get splashed while you cook. Make a copy of a handwritten family recipe card that fits your page. Attach its top edge with cloth washi tape to make a flip-up hinge. Cut a sheet of translucent kitchen greaseproof paper slightly larger than the copy and hinge it above the recipe as a cover flap. Keep the journal away from the sink and stove while you work.
Take care with original family papers you want to keep. The National Archives guidelines on family archives advise storing irreplaceable paper records in cool, dry conditions away from heat and moisture. If an original family recipe card is brittle or yellowing, make a high-resolution photocopy on acid-free paper to paste into your junk journal, keeping the original card safely stored in an archival folder.
4. The Daily Memory and Personal Ephemera Journal
Keep a personal memory journal for the everyday details that don't usually make it into a planner.
Key materials to collect:
- Cinema ticket stubs, concert wristbands, and bookstore receipts
- Coffee shop cup sleeves, tea bag tags, and dry-cleaning tags
- Daily desk calendar sheets, library checkout slips, and to-do notes
Color palette and textures: Mix bold type and pieces of printed packaging with the handwritten margins of notebook pages. The colors and textures can vary throughout.
Worked project idea: The Coffee Sleeve Memory Card Save a clean corrugated cardboard coffee sleeve. Carefully open its glued back seam and lay it flat. Cut a rectangle from the sleeve that fits your journal page. Apply glue along the left, right, and bottom edges only, then press it onto the page to make a pocket. When dry, tuck in a receipt and an index card with a note about the day.
For a reading tracker or book-themed journal, try these methods for annotating paperbacks without damaging paper. Gentle pencil brackets, margin symbols, and loose paper slips let you keep quotations and reading notes for your daily junk journal pages.
Practical Ways to Fill Your Journal Over Time
It's easy to finish making a journal and then hesitate to write in it. If you worry that your handwriting will spoil the old-paper look, a small, repeatable habit can help you get past that worry and use the pages.
The Five-Minute Daily Ephemera Log
Set a timer for five minutes each evening. Pick one paper scrap you acquired during the day, such as a parking stub, a grocery slip, or a stamp from an envelope. Glue it onto the next available page with your glue stick. Write two simple sentences directly beside the item stating what you bought or where you walked. The five-minute limit keeps you from fussing over the entry, and the pages soon fill up.
The Weekly Single-Color Scrap Collection
If a spread full of different colors feels too busy, choose one color for each week. On Monday, choose a shade such as pale blue, olive green, or golden ochre. Over the next seven days, collect small scraps that match that hue: a blue bus transfer, a green tea tag, an ochre product label. On Sunday evening, collage the monochrome scraps onto a single spread and write your favorite memory from the week across the center in black ink.
Found Poetry on Discarded Text Pages
You can make a poem from the words already printed on a book page. Skim a printed page in your journal and look for interesting nouns, verbs, and adjectives. Draw a neat rectangular box around your chosen words with a black gel pen or pencil. Use a light wash of watercolor or dilute ink to shade the background space around the boxes, leaving only your chosen words visible. Read the words you have left visible as a short poem.
Micro-Lists of Five Observations
When you do not have the time or energy for reflective writing, write a short numbered list. These lists take up little space, so they fit on small tags and tuck cards. Simple prompts include:
- Five books currently sitting on your bedside table
- Five sounds heard while sitting outside for ten minutes
- Five tasks completed before noon today
- Five meals cooked this week that you would make again
- Five small things that brought you relief or quiet satisfaction today
The Sensory Snapshot Prompt
Write down what you noticed with your senses to make a memory more specific. Choose an ordinary moment from your day and describe it using the five physical senses. Write one line for what you saw, one for what you heard, one for what you smelled, one for what you tasted, and one for what you touched. Those details can bring back the feel of a day more clearly than a long summary.
Common Crafting Mistakes and Practical Repairs
Some trial and error is part of making a journal. Watch for these common problems with the binding, glue, and paper so you can deal with them before they ruin your work.
1. The Alligator Mouth Spine Blowout
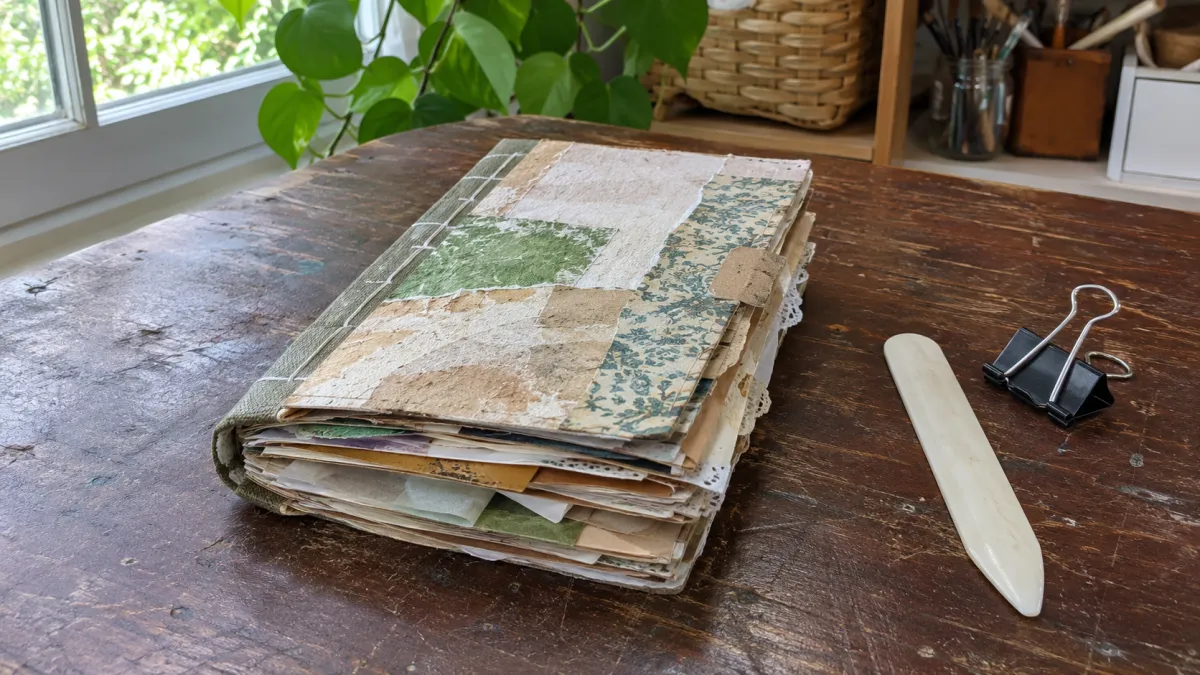
The most common beginner problem is a journal that bulges open at the fore-edge like an alligator mouth, with the spine still narrow and pinched. Bulky pockets, tags, and collage layers need room. If you add them without leaving space for the spine to expand, the outer edges spread apart.
How to fix it:
- Allow room at the spine: Before binding, test a folded signature with a few finished pockets inside. Leave space between signature attachments so the book can close without forcing the cover.
- Move loose inserts: If a bound journal already bulges, remove some tags and cards from the fullest pockets and store them in an envelope alongside the book. Avoid tearing out sewn pages, which may loosen the binding.
- Store journals flat: According to the Northeast Document Conservation Center storage practices, volumes with irregular or heavy inserts should be stored flat rather than standing upright on a shelf. Horizontal storage supports the text block and stops sagging pages from straining the binding thread.
2. Cockling and Warping from Wet Glue
Thin vintage paper swells as soon as it absorbs water from liquid glue. The resulting ripples and puckers can stay in the page permanently.
How to fix it:
- Switch to a firm PVA glue stick: For broad surface collages, use an acid-free glue stick rather than liquid glue.
- Reserve liquid glue for seams: When making pockets, apply a thin bead using a toothpick or fine nozzle and keep it away from the pocket opening.
- Press flat while drying: Place a sheet of waxed paper between glued pages, close the journal gently, and weight it with a book. Check that no glue has reached the surrounding pages.
3. Accidentally Gluing Pocket Compartments Shut
Too much glue on a pocket border can squeeze into the opening when you press it down. Once it dries, the pocket is glued shut.
How to fix it:
- Use double-sided tape: On delicate pockets, replace wet glue with acid-free double-sided craft tape.
- Insert a barrier card: While gluing a pocket with liquid adhesive, immediately slide a piece of scrap plastic or waxed paper inside the pocket opening. If any glue bleeds inward, it will not stick to the waxed surface. Remove the barrier card once the seams set.
4. Paper Abrasion from Aggressive Erasing
Vintage book pages and aged newspaper clippings have short, delicate cellulose fibers that tear or rub away when scrubbed with hard rubber erasers.
How to fix it:
- The Northeast Document Conservation Center surface cleaning procedures caution that abrasive block erasers can scuff and abrade fragile paper fibers.
- If you need to remove pencil marks from older paper, support the sheet flat on a hard desk with your clean hand and use a gentle, light touch with a soft vinyl eraser block.
- You can also leave the pencil lines where they are. They show where you worked and spare the paper another round of erasing.
Frequently Asked Questions
What kind of paper is best for beginner junk journals?
Use a mix of paper weights in your junk journal. For base pages that hold pockets and collage, choose sturdy paper such as kraft paper or cardstock. Lined notebook paper, ledger sheets, and discarded paperback pages can fill out a signature. Use fragile newspaper as a decorative layer rather than as the sole support for a heavy pocket.
How do I prevent my journal from becoming too bulky to close?
Plan what will go on your pages before you bind them. If you expect thick pockets and bulky inserts, use fewer folded sheets in each signature and leave room along the spine. Test the closed journal with a few sample inserts before sewing the remaining signatures.
Can I make a junk journal without a sewing machine or bookbinding tools?
Yes. You do not need a sewing machine or professional bookbinding equipment to make a durable junk journal. A standard three-hole pamphlet stitch requires only a strong sewing needle, cotton embroidery floss or baker's twine, and a push pin to pierce the holes. You can also repurpose an existing discarded hardcover book, gluing pocket pages directly onto the remaining paper stubs inside the original binding.
What is the safest way to age or stain paper at home?
Brew black tea or coffee, let it cool, and brush a little onto an ordinary sheet of copy paper to test the color. Lay the damp sheet flat on a clean tray and let it air dry completely before you glue or write on it. Keep staining liquids away from original photographs and documents you want to preserve.
How does a junk journal differ from an art journal or traditional scrapbook?
A traditional scrapbook usually keeps photographs and major events in date order, using matching, archival-grade papers to preserve them. An art journal gives you room for mixed-media paint, sketches, and illustration. A junk journal sits somewhere between them, with personal writing among recycled ephemera, discarded book pages, and pockets. Its uneven, handmade pages and everyday found papers are part of the appeal.