Junk Journal Supplies: What You Need and What to Skip
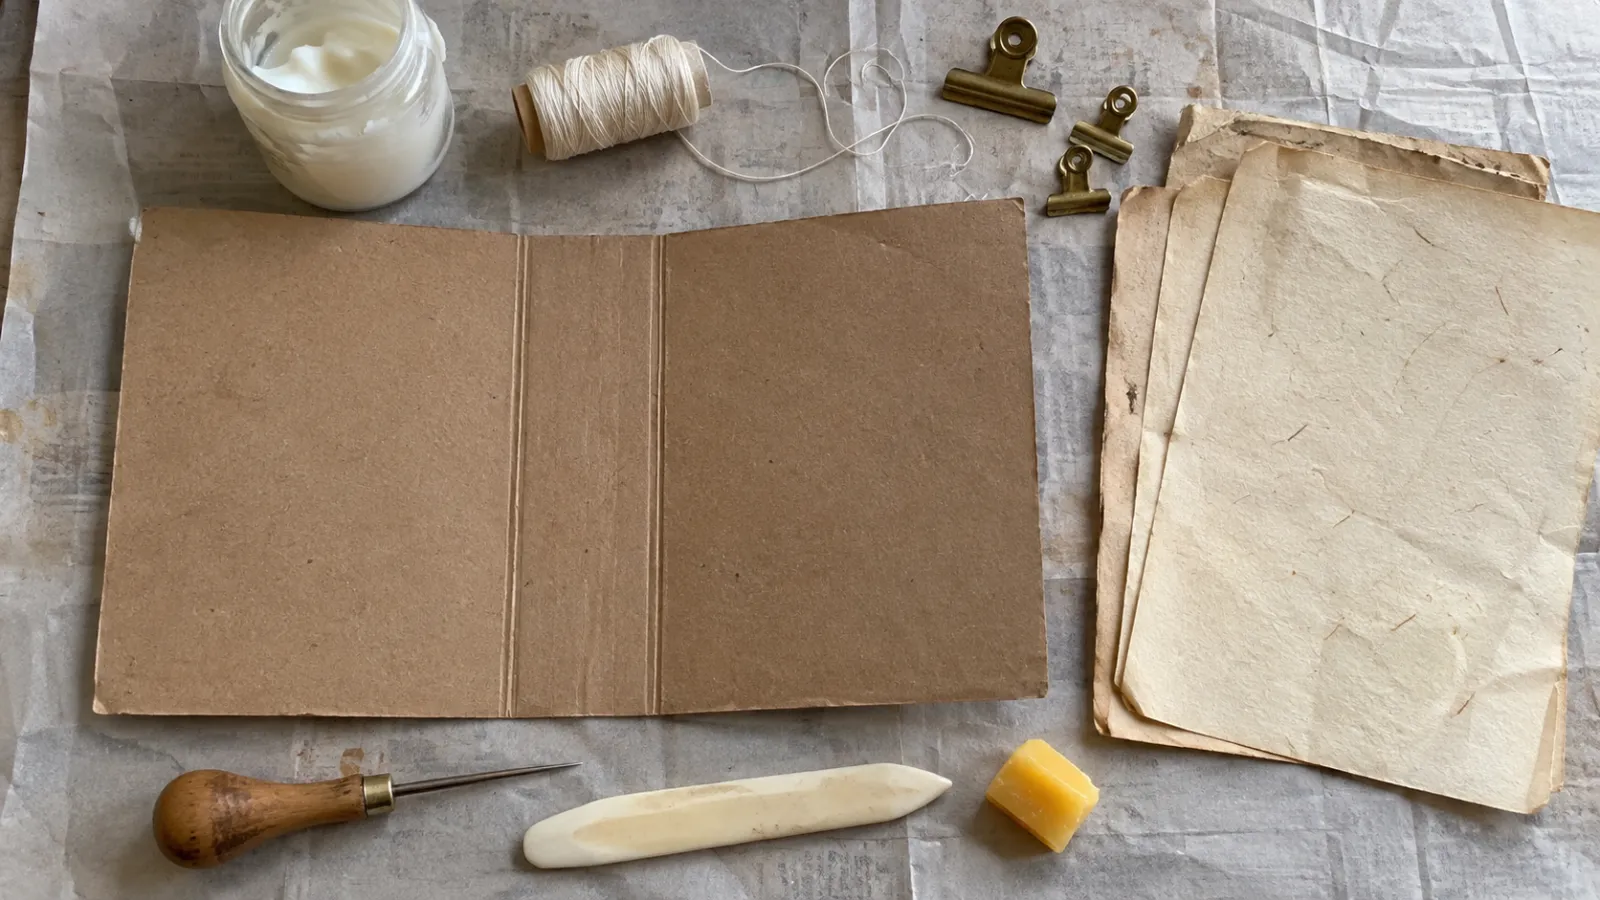
Your first junk journal needs four basic things: reclaimed paper and cardboard from your recycling bin, an awl or pushpin to pierce sewing stations, a sturdy needle with heavy thread to sew the spine, and a reliable adhesive. You can skip commercial die-cutting machines, vintage ephemera bundles, electric sewing machines, eyelet setters, and branded distress inks. Junk journaling began with rescuing discarded paper scraps and binding them into personal books.
Craft room tours and online hauls can make it hard to know where to start. Walls of rubber stamps, rolls of specialty tape, and shelves of bottled mediums can make the project look expensive. But everyday household items do many of the same jobs. Knowing what a tool does helps you decide whether you need to buy it.
Start with free paper, then choose the three basic binding tools and an adhesive suited to the job. Decorations can come from things you've saved. After you've made several journals, you'll have a better idea of which extra tools are worth buying.
Tier 1: free and found papers
Before buying aged scrapbook cardstock or digital printable kits, look through the paper you already have. Mail, packaging, and old notebooks give you different weights, textures, and printed type to work with.
Household mail and food packaging
Look in your recycling bin for cover and pocket materials:
- Cereal boxes and cracker boxes: Thin chipboard packaging bends and cuts easily with scissors. It can make a flexible journal cover or divider tabs. Test a fold first, since packaging varies in stiffness.
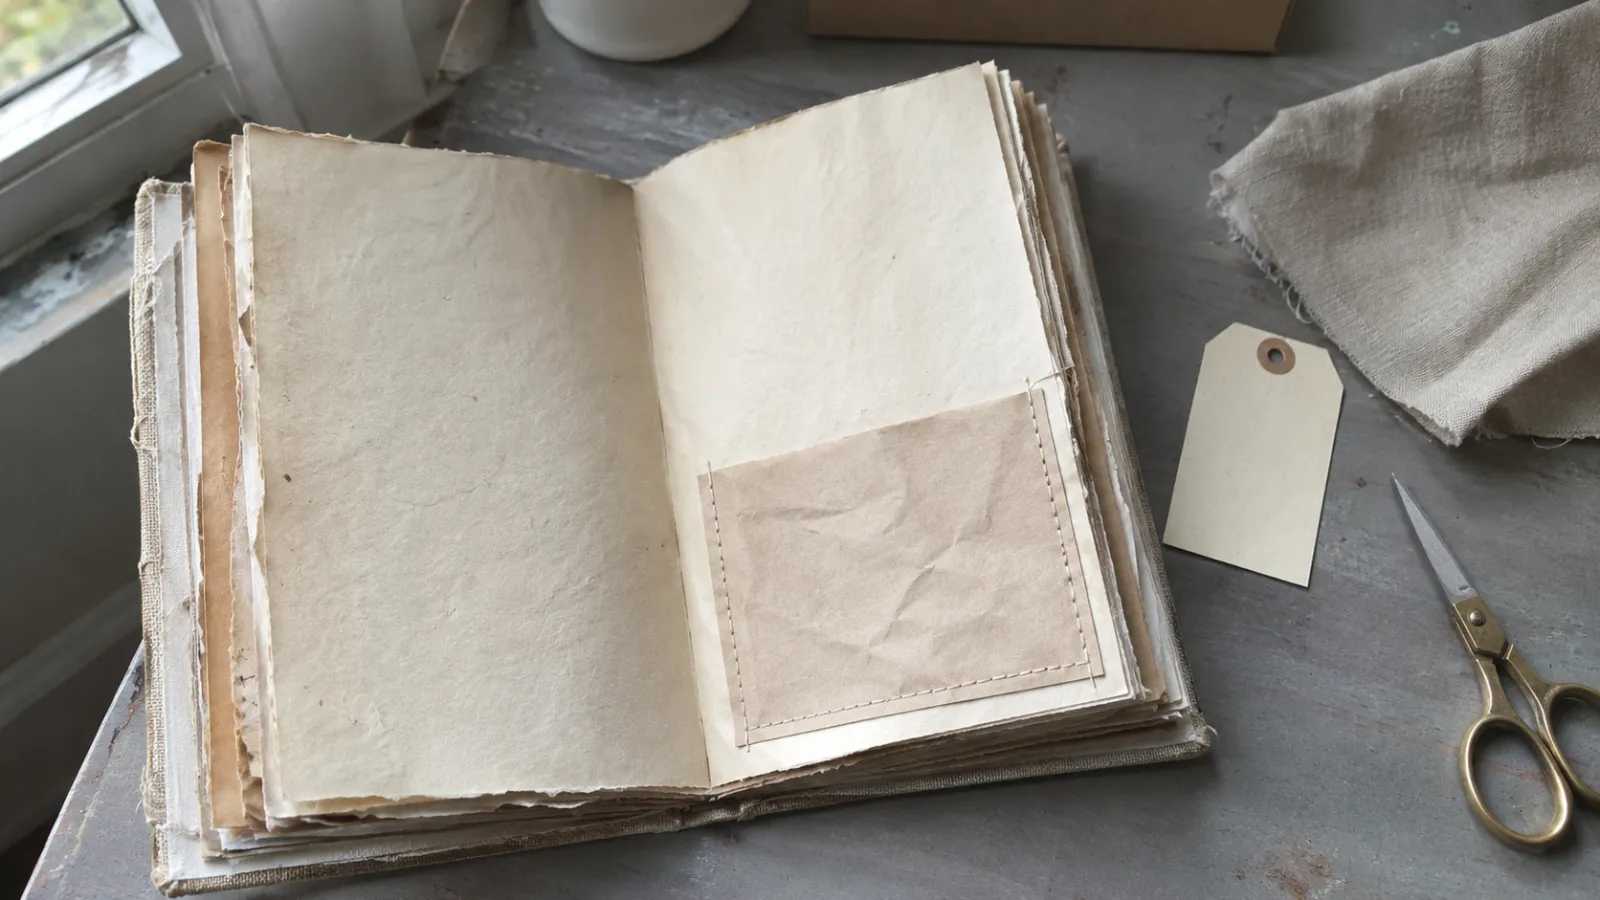
- Security-tinted billing envelopes: The blue, grey, and black crosshatch patterns printed inside window envelopes make decorative background papers for collage. You can also slit the gummed flap to turn the envelope into a ready-made page pocket.
- Brown kraft paper bags: Heavy brown grocery sacks resist tearing. Cut them down into folios, crumple them to soften the fibers, or smooth them flat for sturdy pocket foundations that take ink and graphite without tearing.
- Shipping boxes and corrugated cardboard: Peel the outer skin off a corrugated shipping box to expose the wavy inner flute. Use that ridged texture for decorative cover panels; reinforce hinges and spines with cotton fabric or linen tape instead.
Discarded books and printed paper
Old printed pages bring their own history to a journal. These are useful places to look for paper that would otherwise go to waste:
- Damaged paperbacks: Second-hand books with broken spines, missing covers, or water-damaged margins are common at thrift stores, yard sales, and library discard bins. A book that cannot be read as a complete volume still yields hundreds of clean text pages for folding into journal signatures.
- Outdated reference volumes: Old dictionaries, discarded road atlases, incomplete encyclopedias, and discarded sheet music books provide dense columns of typography, maps, and musical staves.
- Office waste and notebook ends: Used spiral notebooks with blank back pages, discarded graph paper pads, and misprinted single-sided printer sheets provide clean, functional writing surfaces when folded in half.
Some older paper yellows and becomes brittle with age. Keep valuable letters and family records out of a journal you plan to glue and handle often. Use copies in the journal, and follow the National Archives guidance on storing family papers for the originals, including suitable protective folders or boxes.
Tier 2: basic binding tools
Each tool below is used step by step in how to make a junk journal.
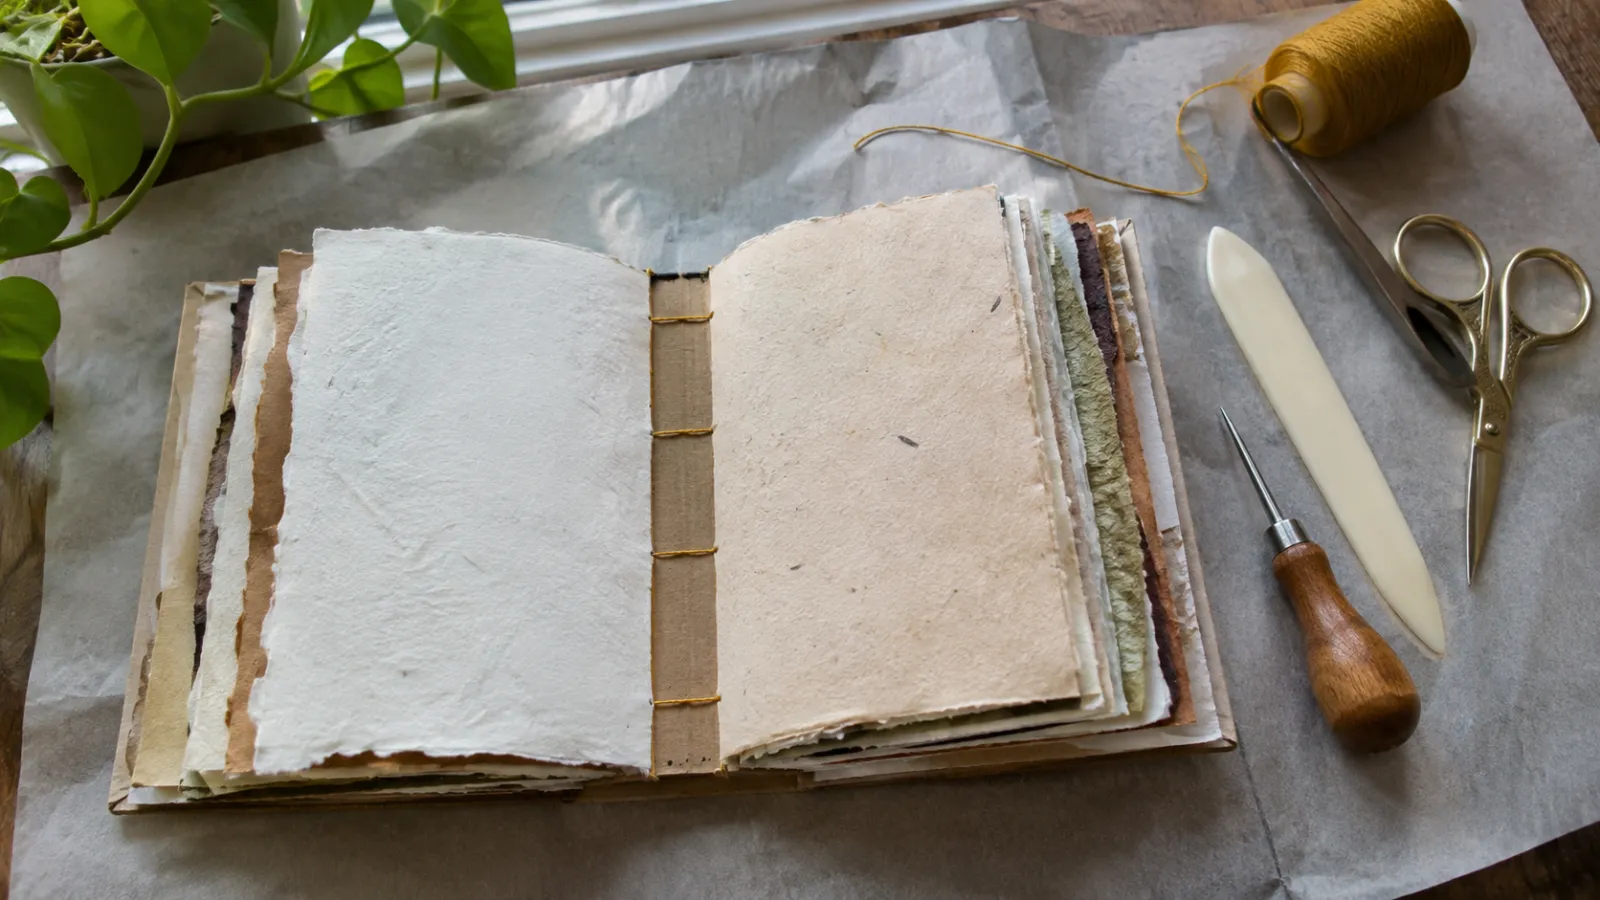
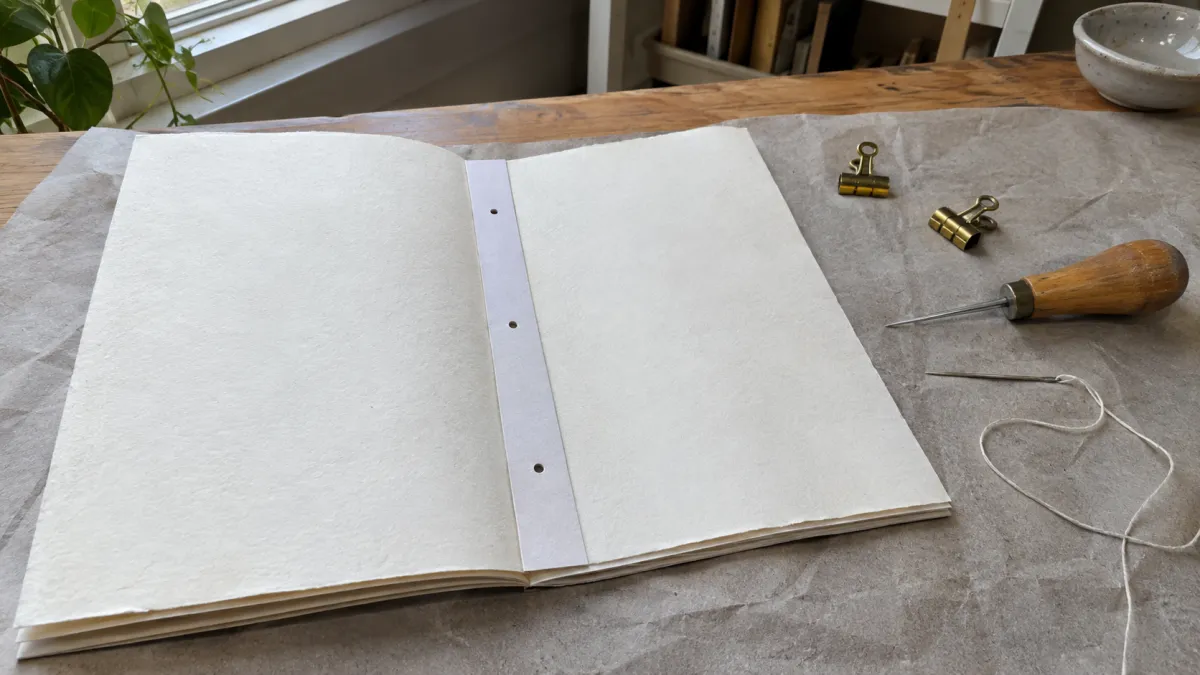
To turn loose sheets of paper into a book, you fold folios into booklets called signatures and sew them through the spine. You do not need bookbinding presses or commercial punch jigs. A simple three-hole pamphlet stitch requires only three hand tools.
An awl or punching tool
Make the sewing holes through the folded spine before you thread the needle through. Forcing a sewing needle directly through eight sheets of folded paper bends the needle, tears the crease, and produces jagged punctures:
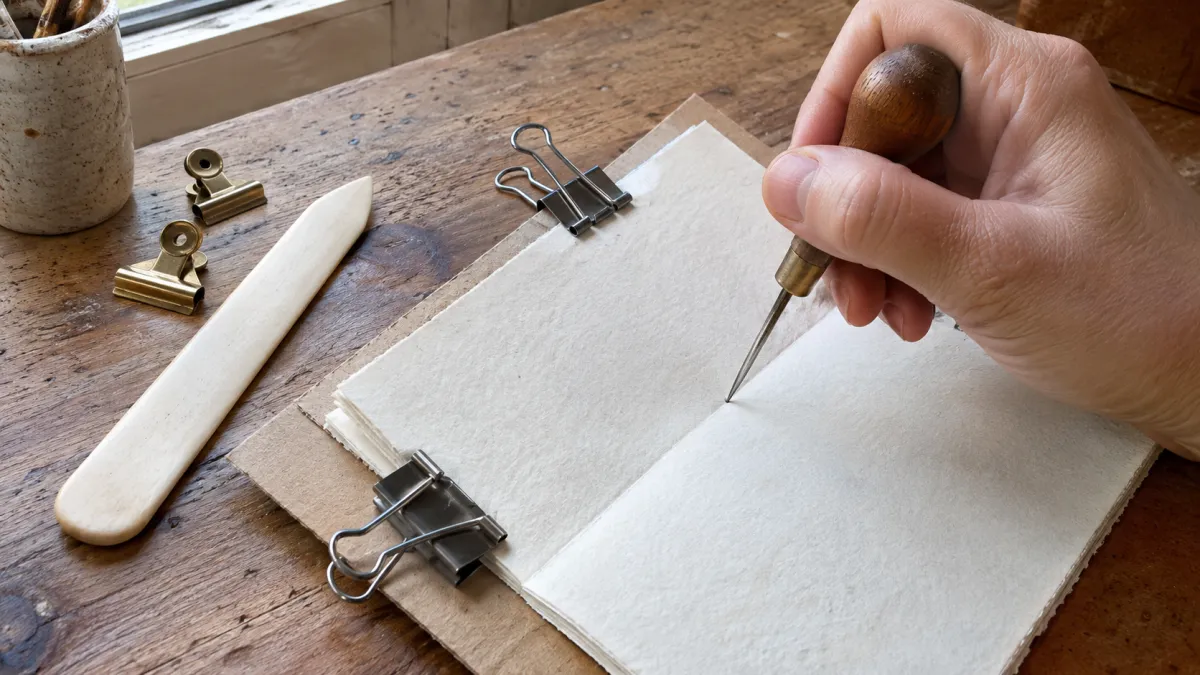
- A bookbinding awl: Its pointed shaft makes a small hole through a folded signature. Choose one you can grip comfortably, and support the paper on scrap cardboard while you punch.
- Household substitutes: If you do not own an awl, you can pierce paper signatures using a standard pushpin, an upholstery needle held with pliers, or a heavy carpet needle. Push the tool straight through the crease into a piece of scrap cardboard or an old phone book placed underneath to protect your table. Keep your fingers clear of the point, and if the paper needs real force, pierce fewer sheets at a time.
A bookbinding needle
Choose a needle that carries thick cord through the punched holes without making new holes beside them:
- Tapestry needles: A blunt tapestry needle with an eye wide enough for your chosen thread passes through pre-punched holes without making new ones. Check that the needle passes through your test hole before you sew the book.
- Large eye requirement: The eye needs to take multi-strand linen cord or embroidery floss without fraying it as you thread the needle. Avoid sharp, narrow embroidery needles or thin quilting needles, which snap under sideways pressure and pierce unintentional holes in your fold.
Thread and binding cord
Binding thread needs to tolerate repeated opening and closing:
- Waxed linen thread: This is a common hand bookbinding choice. The wax helps the thread pass through sewing holes and reduces tangling. Pull it snugly, without cutting into the paper, and secure the ends with a knot.
- Household alternatives: Six-strand cotton embroidery floss makes a reliable substitute if you run it across a small block of beeswax or a plain white paraffin candle before sewing. Pure unflavored dental floss is also very strong, though its smooth surface needs a tight double square knot to keep it from slipping. Avoid standard thin polyester sewing thread. It is designed for fabric, and its narrow diameter concentrates tension along the paper fold. As the book opens and closes, the thread cuts through the fold and pages pull loose. The wider, flat profile of multi-strand cord spreads tension across the punched hole without tearing the paper margins.
The University of Iowa Libraries pamphlet binding tutorial shows how to pierce sewing stations with an awl and sew a single folded section using a binder's needle and linen thread. It is a useful model for a first small signature.
Bone folder and binder clips
A folding tool and a couple of clips make it easier to keep the sheets neat and aligned:
- A bone folder: Draw its smooth edge across folded paper to sharpen a spine crease. A clean plastic gift card or smooth ruler edge can do the same job. Test the tool on scrap paper first so it does not leave a shiny mark.
- Medium binder clips: Clamping your gathered signature sheets to your cover before punching stops the inner leaves from sliding outward. Two medium steel binder clips placed at the top and bottom edges keep the sewing holes aligned while you punch and stitch.
Tier 3: adhesives and when each fails
Adhesive failure is the most common reason beginner junk journals fall apart. The wrong glue can wrinkle a page or warp a cover; it can also leave pockets peeling away and joins brittle or discolored. Choose the adhesive for the material and the weight it needs to hold.
Glue sticks: when to use and when they fail
Solid glue sticks contain water-soluble polymers in a twist-up tube. They leave a thin, relatively dry film on paper:
- When they work: Glue sticks suit lightweight flat paper scraps. Use one to attach book clippings, magazine cutouts, or single-layer collage. Its relatively dry application can reduce the chance of wrinkling thin paper, but test the paper first.
- When they fail: A glue stick may not hold a heavy cover, fabric trim, metal accent, or pocket that is pulled repeatedly. If an edge lifts after drying, use a stronger adhesive for that join. Glue-stick formulas vary, so test a scrap before relying on one for a keepsake.
- Application technique: Lay your ephemera face-down on a piece of scrap catalog paper. Run the glue stick outward past the edges so you cover every corner. Press the piece into place, cover it with clean scrap paper, and burnish it with a bone folder.
Polyvinyl acetate (PVA) liquid glue: when to use and when it fails
PVA is a water-based adhesive available in formulations sold for bookbinding:
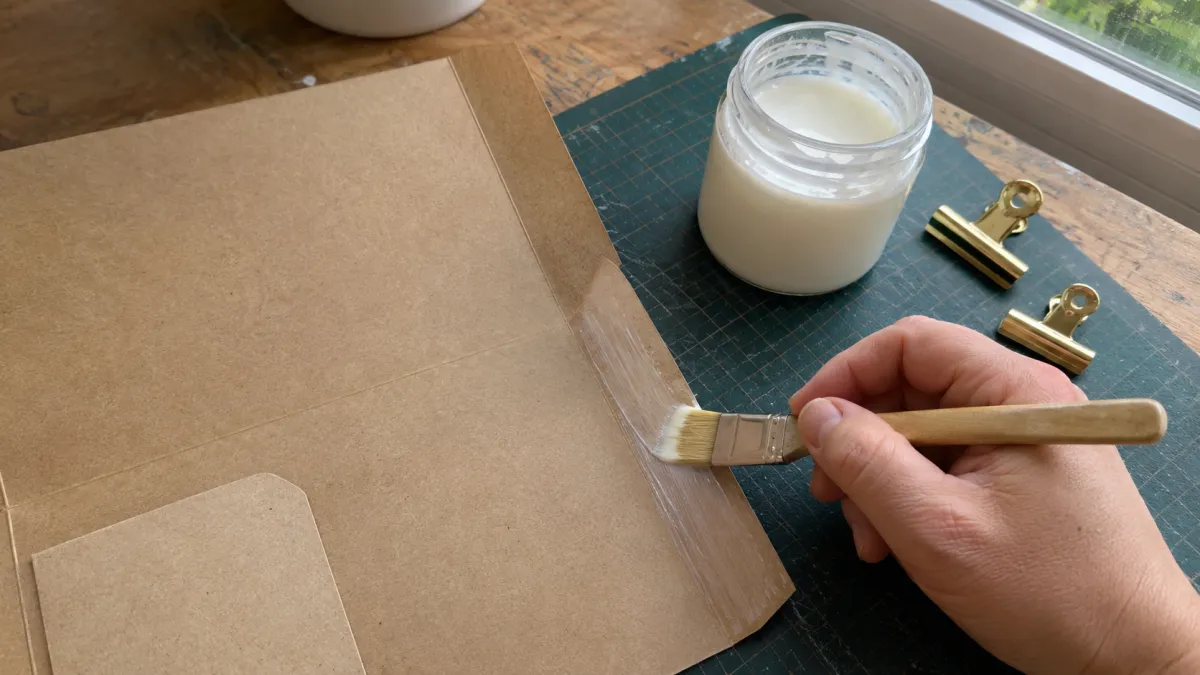
- When it works: Bookbinding PVA can make a strong, flexible join when applied thinly and allowed to dry. Use it for covering chipboard, attaching fabric to a cover, or securing a paper pocket that will be handled often. Check the label if you need a specific pH or preservation property; the name PVA alone does not guarantee one.
- When it fails: Too much wet PVA can make thin paper ripple or cockle. It also gives pieces time to slide before the bond sets. Try a thin coat on scrap paper, then hold the joined pieces in place while they dry. Avoid applying it directly to valuable originals.
- Application technique: For broad surfaces, do not squeeze PVA straight from the bottle onto journal pages: it leaves thick puddles and uneven lines that squeeze out onto adjacent pages when pressed. A thin bead from a fine nozzle is fine for narrow pocket seams. Squeeze a small puddle onto a scrap tile, plastic lid, or scrap cardboard palette, then spread a thin, even layer with a short, stiff, flat hog-bristle brush. Work quickly from the center toward the outer margins, then press the piece firmly under a flat wooden board or heavy book until dry.
Double-sided tape: when to use and when it fails
Double-sided craft tape consists of a thin carrier film coated on both sides with pressure-sensitive adhesive, protected by a peel-away paper backing:
- When it works: Double-sided tape sticks without adding moisture. It is useful for a cardstock pocket seam, belly band, or envelope flap when you want to continue working immediately. Press it down firmly and check that the whole seam has contact.
- When it fails: Tape can lift where a filled pocket pulls on a narrow seam. Adhesive tapes can also age poorly. The Library of Congress guidance on albums and scrapbooks warns that harmful tapes and adhesives can damage the items attached to album pages. Keep ordinary household tape away from original letters and photographs you want to preserve.
- Application technique: Burnish the tape firmly down to the cardstock surface using your bone folder before peeling away the release paper. Firm pressure activates the bond and brings the adhesive into full contact with the paper fibers.
Liquid school glue and hot glue: why to avoid them
Two common household adhesives are troublesome in books:
- Standard white school glue: Many white school glues are also PVA based, but their formulas differ from glues sold for binding. A wet coat may wrinkle thin paper. Test it on scraps before using it on a cover or hinge, and choose bookbinding PVA when you need a predictable structural join.
- Hot melt glue guns: Hot glue forms a thick, rubbery bead that sets within seconds. In a journal, that thick bead creates lumpy, raised bumps that prevent the book from closing flat. Hot glue also forms a surface bond that easily snaps off smooth paper, metal, or plastic when the journal pages flex. Keep hot glue guns out of junk journal binding.
Tier 4: embellishments and ephemera
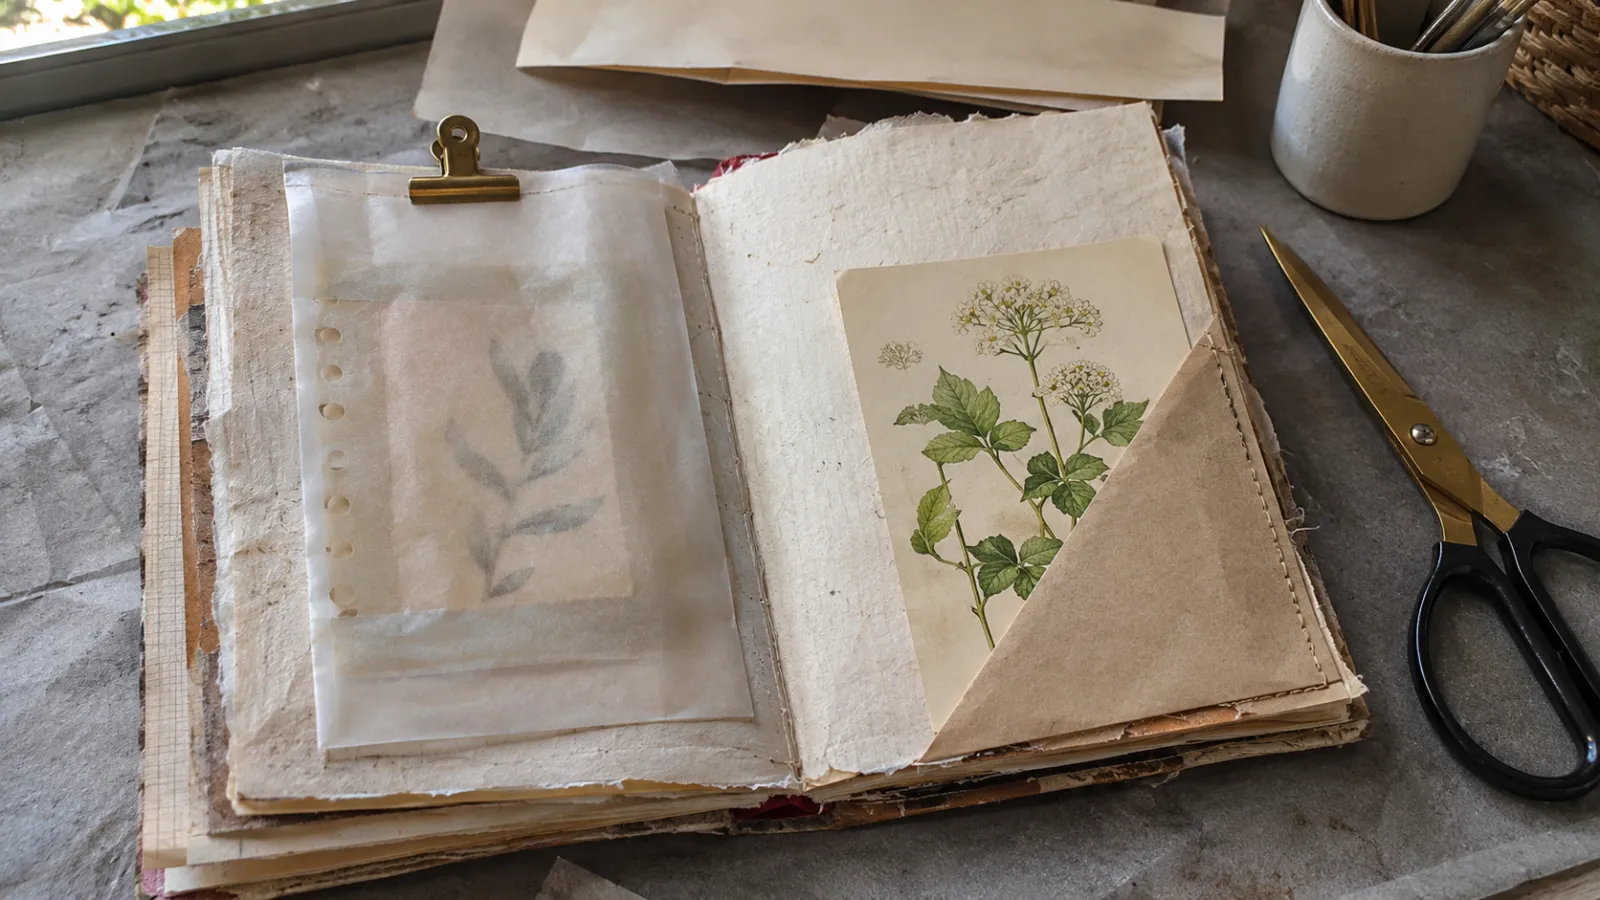
For ways to use these on a page, from pockets to themed spreads, see junk journal ideas.
Saved scraps give pages texture you can see and feel. They also bring more variety and personal character than designer paper packs or commercial die-cut packages.
Free collected ephemera
Start with things you've kept from daily life. They cost nothing and often hold a memory:
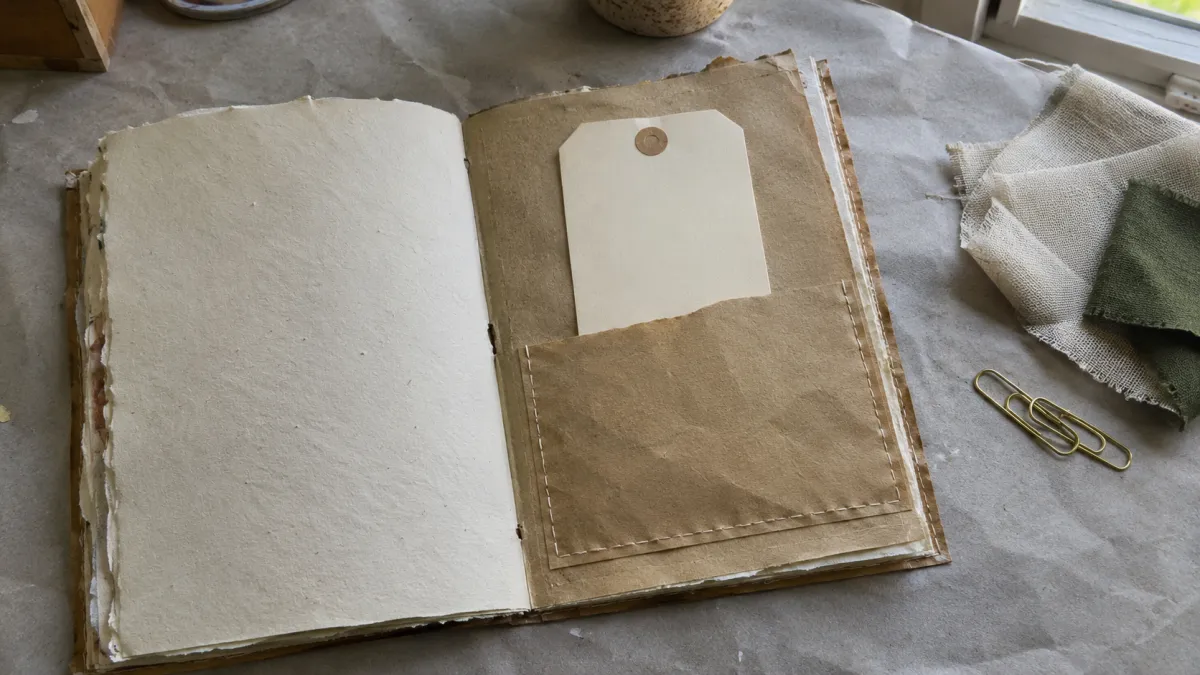
- Postage stamps and postal cancellations: Clipped from incoming mail, postage stamps add color, typography, and historical dates to tag corners and pocket fronts.
- Garment tags and price cards: Clothing hangtags made from heavy cardstock often come pre-punched with reinforced string holes. Cover the printed logo with a scrap of book page or sheet music, and you have a finished journaling tag.
- Ticket stubs and receipts: Train tickets, museum admissions, boarding passes, and register receipts add dates, numbers, and graphic lines to a collage.
- Fabric and ribbon remnants: Frayed strips of cotton calico, linen scraps, torn muslin, and lengths of jute twine make rustic page tabs, ribbon closures, and spine tassels.
Low-cost embellishments
If you want to spend a few dollars on decorations, choose supplies you can use in several ways:
- Washi tape: Paper masking tape can add a border to a page or hold a lightweight scrap in place. Test it on fragile paper first; its adhesive is not a substitute for sewn spine reinforcement.
- Brass paper fasteners and paper clips: Standard office paper clips and two-prong brass fasteners (brads) hold temporary booklets, tags, and secret foldout flaps onto pages without glue.
- Neutral ink pads: A single water-based dye ink pad in warm brown or dark sepia, paired with a small makeup sponge, lets you darken freshly cut paper edges so they look aged.
For writing thoughts, lists, or notes across your finished pages, test your pen on a scrap sheet first. Wet ink can bleed through porous book leaves. Keep valuable or borrowed originals unmarked.
Tier 5: nice-to-haves
After two or three journals, you may want tools that make cutting and decorating quicker or more precise:
- Self-healing cutting mat: A gridded mat protects your desk and gives you straight guides for cutting paper. Choose one that fits your work surface and the papers you use.
- Steel-edge ruler: A metal ruler gives a craft knife a straight guide. A nonslip backing can help keep it steady while cutting.
- Craft utility knife: A snap-off blade craft knife cuts straight, crisp edges through paper and heavy chipboard covers. Use it on a cutting mat against a metal safety ruler, cut in several light passes, keep your fingers outside the cutting path, and snap off a dull blade instead of pressing harder.
- Corner rounder punch: A hand punch rounds the corners of homemade tags and pocket flaps. Scissors can do this job for a first journal.
- Vintage rubber stamps: A simple set of alphabet stamps, botanical motifs, or numeric date stamps adds decorative marks to blank writing tags without requiring digital printers.
What beginners can safely skip
Craft stores and social media channels sell dozens of appliances and kits to beginners. You can make an attractive, durable book without these purchases:
- Commercial die-cutting machines: These machines add a separate tool and cutting accessories to a beginner's setup. Scissors can shape tags and pockets; a ruler and craft knife are options if you later want straighter cuts.
- Vintage ephemera reproduction kits: Printed paper pads containing faux-vintage postcards, simulated tea stains, and artificial ticket stubs are expensive and look uniform. Scraps from old books, letters, and packaging have real wear and cost nothing.
- Electric eyelet and grommet setters: Hand-held hole punches and heavy table presses designed to crimp brass eyelets are bulky and costly. You can reinforce holes in cardstock tags by gluing a punched paper washer or a scrap of linen cloth over the hole before threading twine through.
- Rotary paper trimmers: Heavy rotary trimmers take up significant table space. A steel ruler and a fresh utility blade on a cutting mat cut cleaner lines through thick chipboard and layered folios than lightweight craft trimmers.
- Large collections of distress sprays and texture pastes: Specialty acrylic sprays, crackle pastes, and alcohol inks create messy chemical setups that require special ventilation and cleanup. Water, strong brewed black tea, and basic watercolors provide all the tinting and staining a beginner needs.
What to buy first: the beginner purchasing sequence
If your craft drawer is empty, buy supplies in this order. First check what you can borrow or substitute at home:
- A blunt tapestry needle and waxed linen thread: Buy these first if you plan to sew. Check that the needle eye takes the thread and that both pass through a test hole.
- A glue stick: Choose one for flat paper collage. Test it on the paper you gathered, especially thin book pages.
- Bookbinding PVA: Buy this when you are ready to attach a cover, fabric, or a working pocket. A small bottle is enough to learn with; check the label for any preservation claim you need.
- A bookbinding awl: A pushpin works for a small test signature. Buy an awl when you want a tool that is easier to grip for repeated holes.
- A bone folder: Add one if you make many folds. A clean plastic card can crease the pages of your first book.
Every other requirement for your first book, including cover chipboard, signature papers, envelopes, tags, fabric scraps, clips, and scissors, can be gathered freely from around your home.
Worked comparison: pruning a beginner shopping cart
A beginner's shopping cart can fill up quickly. Compare these two lists and what each one does for the book.
Before: A scrapbooking starter kit with decorative paper and stickers. An electronic die-cutting machine with accessories. A rotary paper trimmer. Several bottles of decorative sprays. Eyelet-setting pliers and metal grommets. Gel medium and texture paste. Several rolls of washi tape. Thin sewing thread and sharp embroidery needles.
Most of this cart decorates or cuts paper, jobs you can handle with found scraps and scissors. The thin thread may pull against a paper fold, while a sharp needle can make extra holes beside the sewing stations.
The second list covers every construction step with durable hand tools:
After: Waxed linen thread. A blunt tapestry needle with an eye that fits the thread. A fine-point wooden-handled bookbinding awl. A bone folder, if a clean plastic card does not make the crease you want. Bookbinding PVA glue for structural joins. A glue stick for flat paper scraps.
The second list keeps the materials needed to bind pages and attach a cover. Add household scissors and an old cereal box, then use the first journal to learn which decorative tools you actually miss.
Step-by-step setup: preparing your supplies at home
Set up your table before opening the glue. A little preparation keeps stray adhesive off your papers:
- Clear a firm, flat work surface: Cover the table with clean scrap paper to catch glue and pencil marks. The Northeast Document Conservation Center's handling guidance recommends using a flat table to support paper during handling.
- Sort your papers into functional piles: Sort the materials into three boxes or piles: heavy cardstock and chipboard for covers, medium-weight printed text sheets for page signatures, and small ephemera scraps, envelopes, and tags for pockets and collage.
- Prepare a gluing board: Use an old magazine, telephone directory, or stack of scrap printer paper as your gluing surface. When applying glue to a scrap piece, lay it on a fresh page of the magazine. Turn to a fresh page after each piece so the next scrap does not pick up wet glue.
- Keep a damp cloth handy: Keep a slightly damp cotton rag or paper towel beside your glue station. Wiping your fingertips clean between collage steps prevents sticky thumbprints on clean book pages.
- Check your measuring guide: Cut a strip of scrap cardstock to the exact height of your journal spine. Mark your three sewing station holes on this guide strip with a pencil. Use the strip as a template so the holes in every signature and cover line up. You only need to measure once.
Common beginner supply mistakes and practical solutions
Using flexible corrugated cardboard for spine hinges
Beginners often cut a single piece of thick corrugated shipping box to form the front cover, spine, and back cover. Opening the book crushes the inner flutes, leaving creases and a weak, floppy spine.
Solution: Build a separate front, back, and spine piece from dense packaging board. Join the pieces with sturdy cotton fabric or linen tape, leaving enough space beside the spine piece for the covers to open freely. Test the hinge before the glue dries.
Using rubber cement or household masking tape for page repairs
Rubber cement and household masking tape seem convenient for holding torn book pages together. Their adhesives may stain or fail as they age, especially on paper you handle often.
Solution: For a practice journal, replace a badly torn page or reinforce a fold with a thin strip of clean paper and a little bookbinding PVA. For a valuable original, ask a paper conservator before applying any adhesive.
Frequently asked questions
What is the single most essential tool for a junk journal beginner?
Start with a needle and thread suitable for the holes you have punched. You can gather paper, fold with a clean plastic card, and pierce a small signature with a pushpin. A test stitch through scrap paper will show whether the thread pulls too tightly against the fold.
Can I make a junk journal without any sewing?
Yes. You can create a ring-bound junk journal using an office two-hole or three-hole paper punch and loose metal binder rings. You can also alter an existing hardback. Remove selected inner pages to make room for collage, then glue ephemera onto the remaining leaves. There is no new text block to sew.
How do I dye paper with tea without making it brittle?
Let brewed tea cool, then test a little on a scrap of the paper you plan to use. Allow the sheet to dry flat before adding it to your book. Tea staining is decorative and can change how paper ages, so use copies rather than valuable originals. You can also skip dyeing entirely and choose naturally varied found papers.
How thick should a junk journal cover be?
The cover should be stiff enough to support the pages without making the book hard to open. Try chipboard from a cereal box, pasta box, or notepad backing. If it bends too easily once the pages are sewn in, layer another piece of board and test the hinge again.
How do I store a finished junk journal that has thick pockets and tags?
Close the journal gently and check whether the stuffed pages strain the spine. Store a bulky journal flat with nothing heavy stacked on top. The Northeast Document Conservation Center's scrapbook storage guidance explains that added scraps can stress a binding and recommends flat storage for scrapbooks.