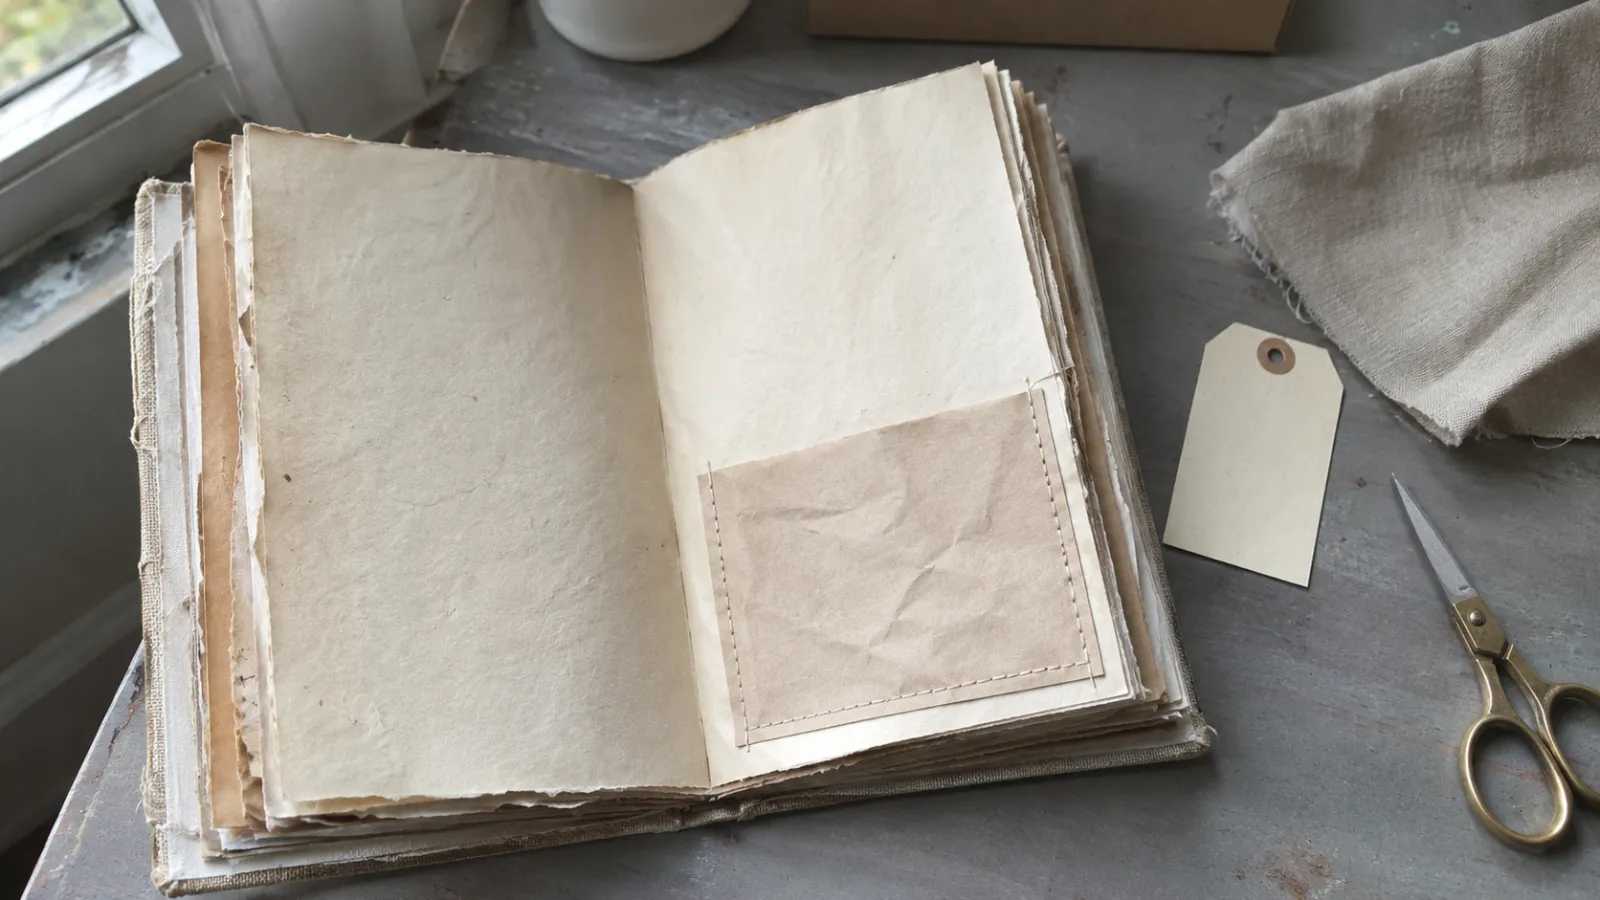
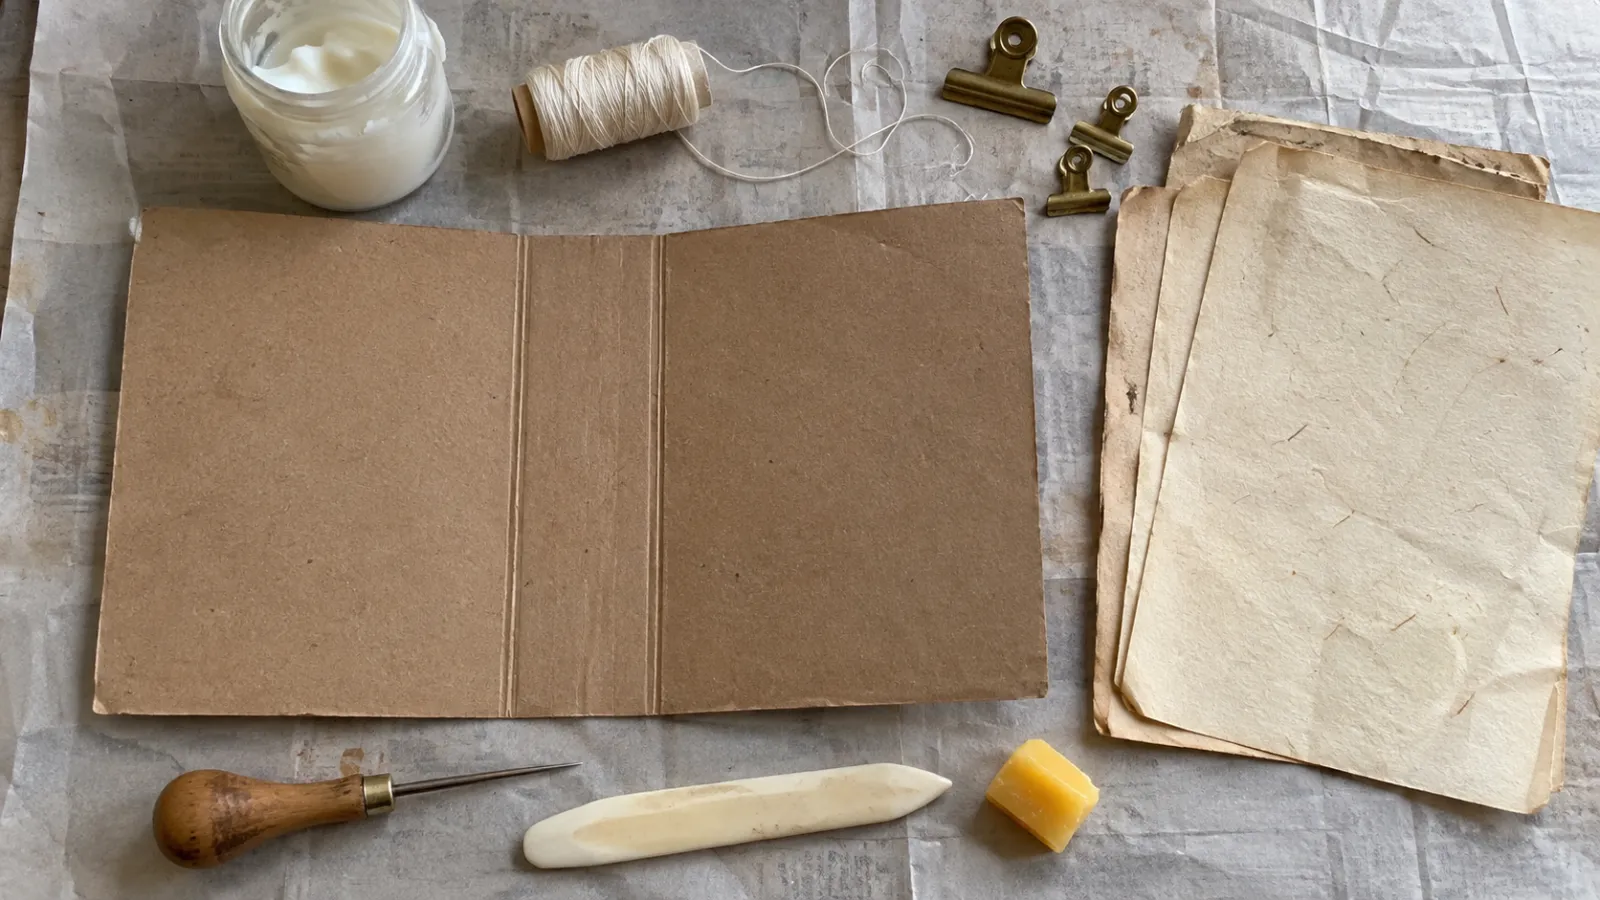
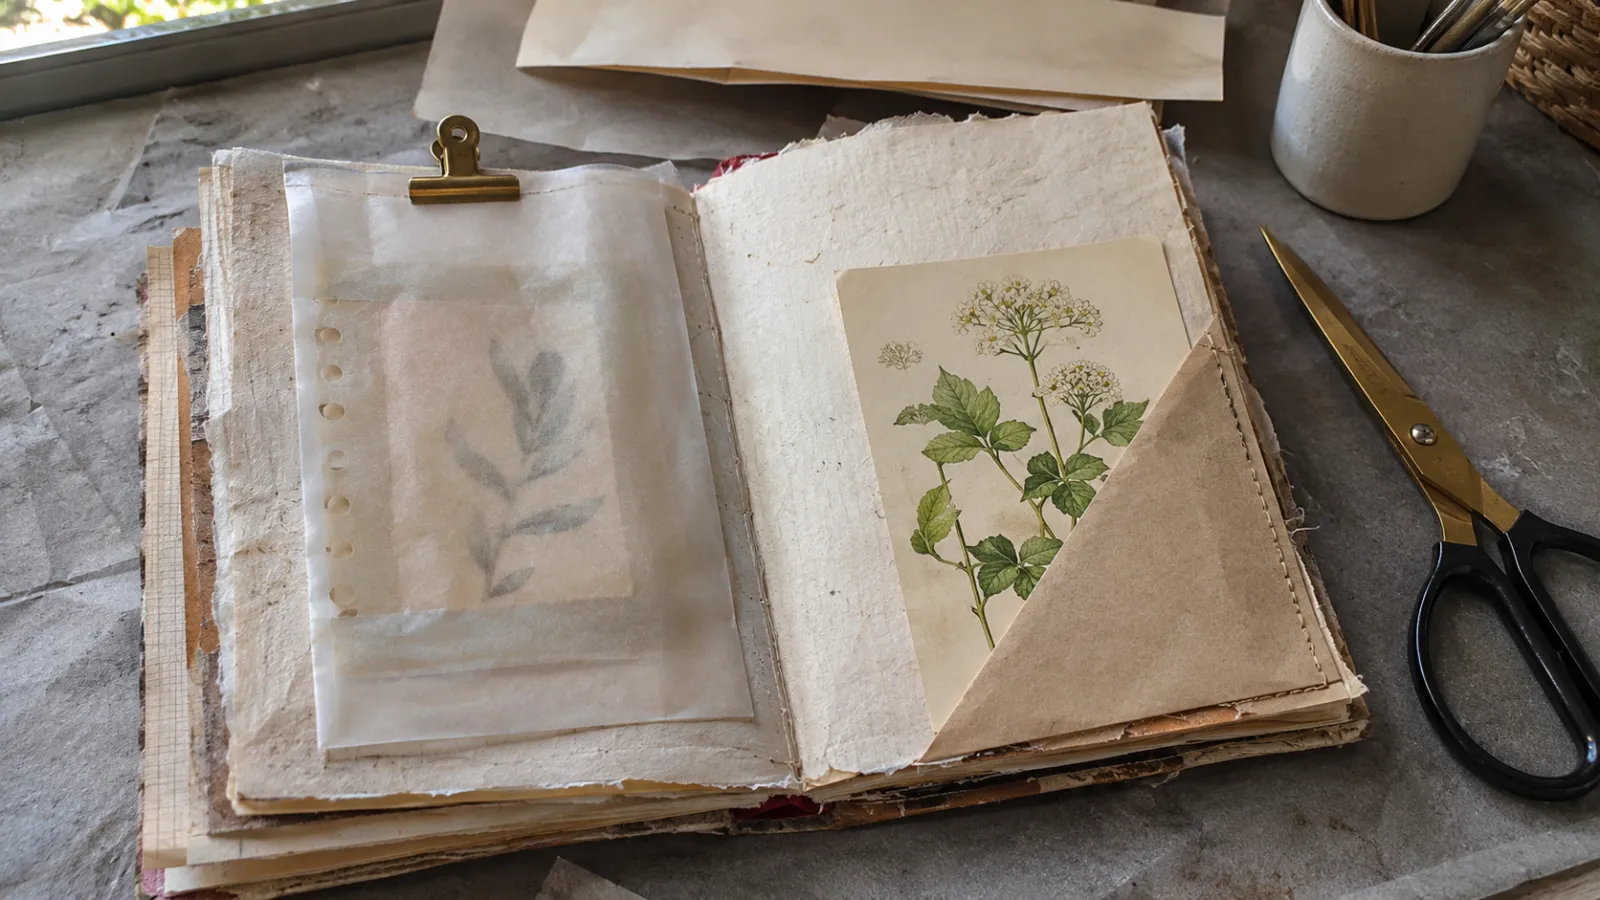
Altered Book Ideas and Techniques for Beginners
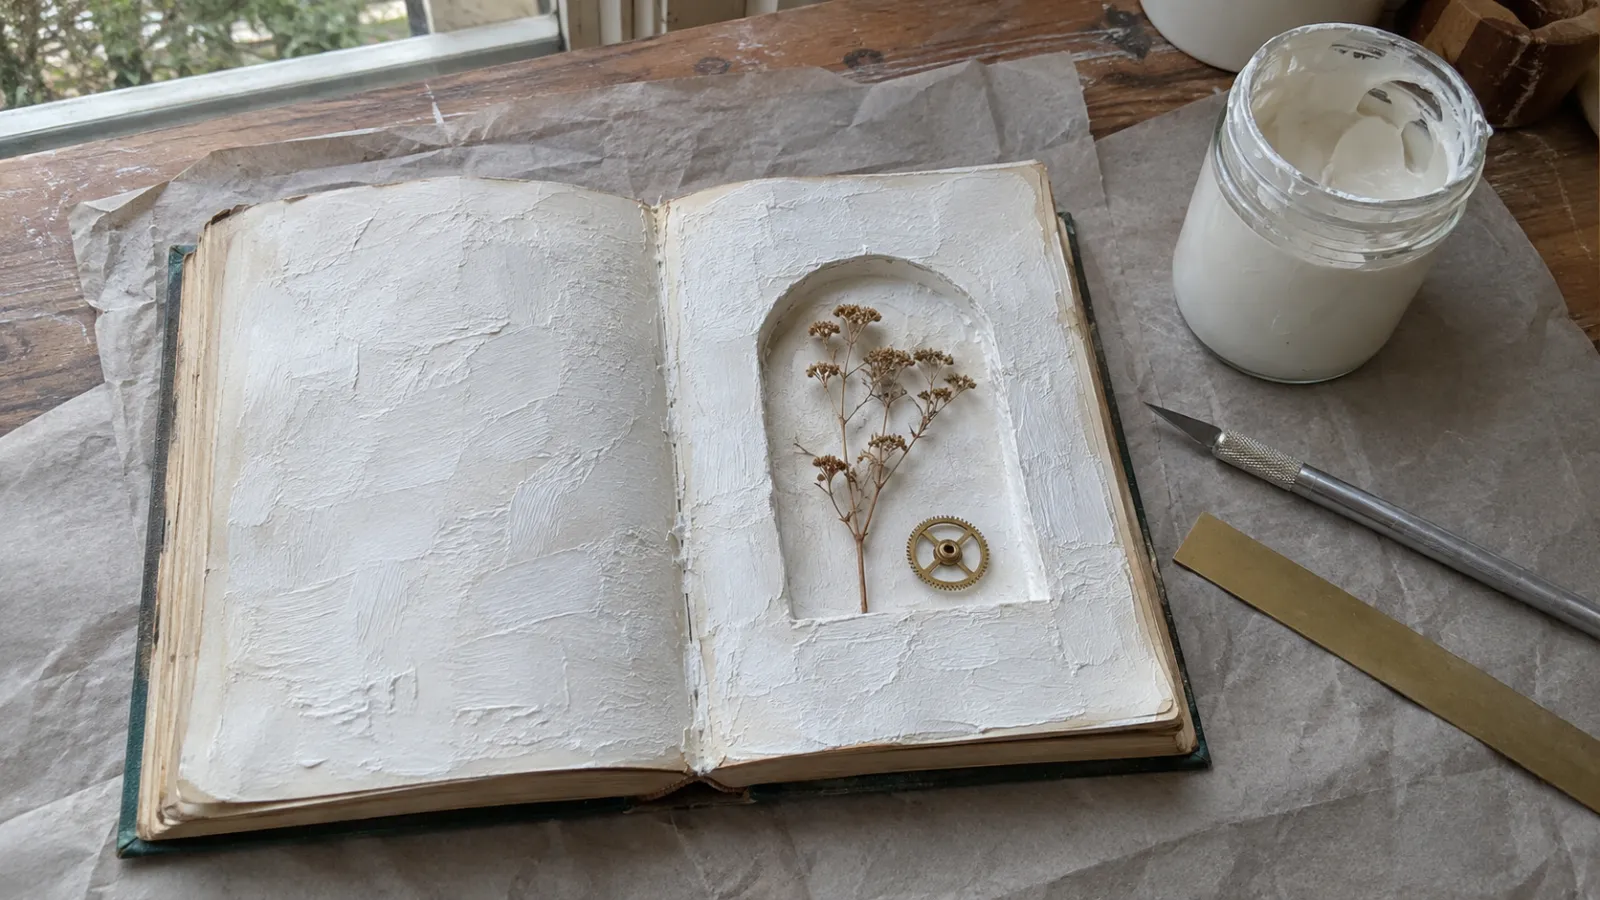
An altered book is a discarded book that you turn into art with collage, paint, paper cuts, or sculptural construction. An existing hardback gives you both a surface to work on and a structure to build within. Its printed text, aged paper, and stitched cloth spine give you something to respond to before you make the first mark. That can make starting a mixed-media spread easier than facing a blank sheet.
Working inside a book keeps the project together, ready to put back on a shelf. You can pick out phrases for blackout poetry or carve through pages to make a compartment for small keepsakes. For heavy acrylic paint, glue pages together into a rigid board. The basic supplies are familiar: a sharp craft knife, a metal ruler, acid-free adhesive, and a jar of acrylic gesso.
A sturdy secondhand book can become an art journal, a family keepsake, or a dimensional paper sculpture. Start by checking its binding and preparing the pages. Those steps help keep the spine intact whether you plan to paint a few spreads or carve a deep niche.
How Altered Books Differ from Sketchbooks and Junk Journals
If you are deciding between the two crafts, what is a junk journal explains the other one.
A standard sketchbook or art journal has blank paper bound for drawing or painting. You control the surface from the start. For many artists, though, an entirely white page is intimidating enough to make getting started difficult.
A junk journal is built from the ground up by gathering loose papers, such as envelopes, ledger sheets, sheet music, and packaging scraps. You usually fold those mixed papers into small booklets called signatures and sew them into a cover, though some people build a junk journal inside an existing book instead.
With an altered book, you keep the original publisher binding and printed text block of a commercially made book. You work within that structure rather than sewing a new spine. You might cover most of a page with white gesso to leave a few words of poetry, or cut through a block of leaves to make a small hollow box. The old print and paper remain part of the artwork, even where you cover or cut them.
Choosing the Right Book to Alter
Check how a book is built before you buy it. A weak binding can crack or shed pages, and unsuitable paper can buckle under wet paint. At thrift shops or library sales, look for these four features.
1. Stitched Sewn Bindings Versus Glued Paperbacks
Always check how the pages attach to the spine. Open the book flat on a table and look down into the gutter between two pages in the center of a section.
In a sewn binding, folded groups of pages are stitched together. You may see thread stitches in the center fold of a signature. The thread gives the pages support when you turn them and when you remove selected leaves. A hardcover can also be glued, so check the actual pages rather than relying on the cover.
In a perfect binding, individual sheets are glued at the spine. You may see this in paperbacks and some hardcovers. Pulling at the gutter or cutting too close to the spine can loosen those sheets. For a first project, choose a hardcover with visible sewn signatures and a binding that opens without cracking.
2. Spine Flexibility and the Hollow Back
Examine the spine while opening the front cover. High-quality hardcovers have a hollow back. When the book opens, the text block arches upward, creating an open tube or gap between the paper spine and the rigid cloth cover.
That gap gives the book some flexibility as you open it. It does not make room for unlimited collage bulk, so you still need to thin selected pages.
3. Paper Surface and Weight
Feel the paper with your fingers. The best books for altering have medium-weight, uncoated matte paper, similar to standard trade non-fiction or vintage novels from the mid-twentieth century. Uncoated paper absorbs glue smoothly and grips acrylic primers without repelling moisture.
Glossy paper can be harder to glue or paint. Try a small patch on an unused page before committing to the book; if the paint beads or the adhesive releases after drying, choose a different volume.
4. Practical Dimensions for Beginners
A medium-sized book is easy to handle at home. Choose one that opens comfortably on your worktable and has enough pages for the spreads you plan to make.
An oversized coffee-table book takes a lot of paint and collage material to fill even a single spread. That can feel overwhelming when you are starting out. Pocket-sized books have the opposite problem: their narrow margins leave little room for windows or layers of ephemera. A standard novel gives you room to work without too much page to fill.
Managing Book Bulk: Why and How to Remove Pages
The most common mistake beginners make is adding paint and collage to every page of an unaltered book without thinning it out first.
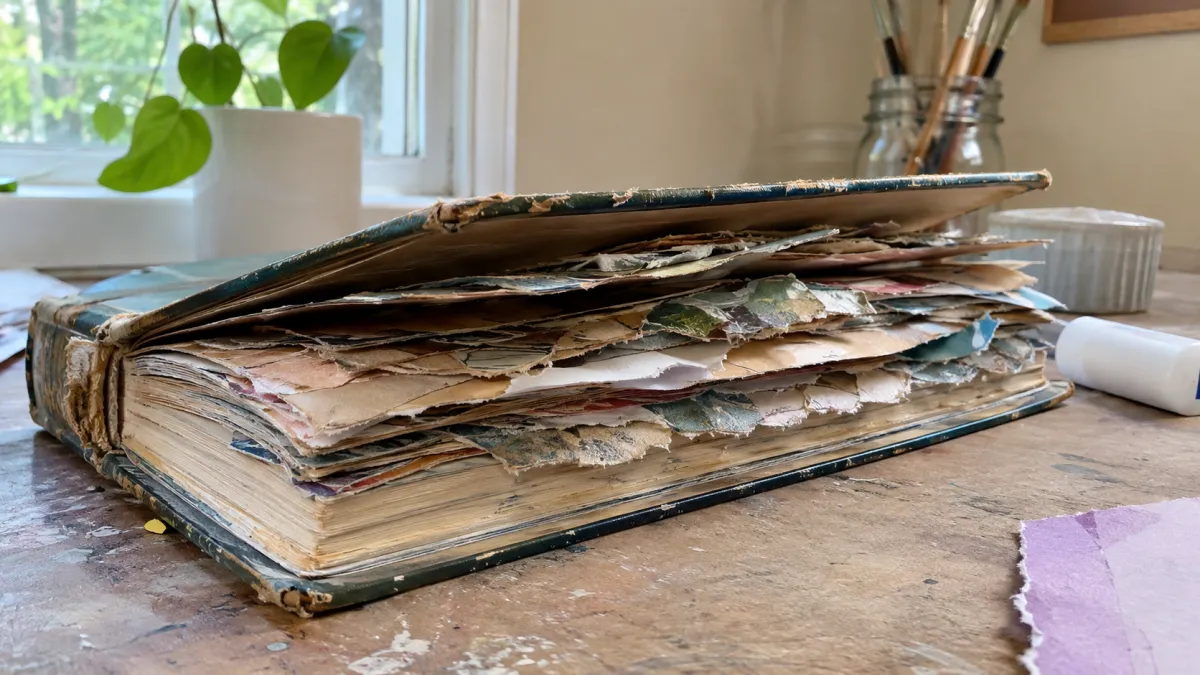
A manufactured book has a spine sized to match its original paper block. Paint, collage cutouts, and pockets make leaves thicker without widening that spine. Repeated layers can make the fore-edge flare and strain the binding.
Artists sometimes call this wedge shape an alligator mouth. The Library of Congress collections care guidelines on scrapbooks note that bindings often cannot adjust to the bulge created by inserted materials.
Step-by-Step Page Removal
Remove pages before adding artwork to make room for the extra thickness. Cut carefully so the remaining signatures stay intact.
- Plan which spreads you will use. Remove a few leaves between planned spreads, then reassess how the book closes as you add layers.
- Open the book to the first section you want to thin. Never yank or tear pages out by hand. Pulling a page tears the paper along the thread line and loosens the corresponding page on the opposite side of the signature.
- Slide a self-healing cutting mat or a strip of dense grey chipboard directly behind the pages you intend to cut. This barrier prevents your knife from slicing into the pages you want to keep.
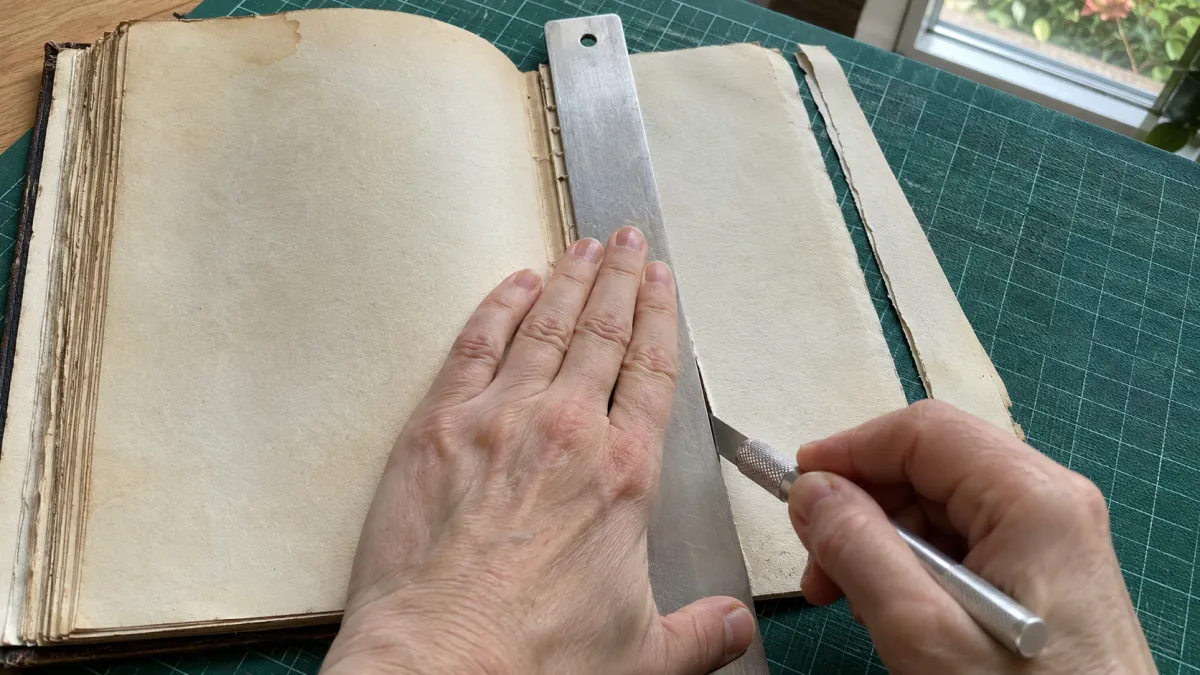
- Align a metal ruler parallel to the spine, leaving a narrow strip of paper at the gutter so you do not cut the sewing.
- Using a craft knife with a sharp blade, make light passes along the ruler edge until the unwanted leaves separate.
- Remove the cut paper and discard or save it for future collage.
The narrow paper strip remaining along the gutter is called a stub. Leave these stubs in place. They space out the pages at the spine to balance the thickness of your collage and help the closed book lie flat.
Preparing Pages for Wet Media
Many printed book pages buckle or tear when brushed with liquid glue or water-based paint. Preparing the pages gives you a firmer surface for collage and wet media.
Fusing Pages Together
Glue two, three, or four adjacent pages together to make one stronger leaf.
- Place a sheet of kitchen wax paper or silicone baking parchment underneath the working spread to protect the clean pages behind it.
- Pour a small puddle of matte gel medium or acid-free polyvinyl acetate craft glue onto the first page.
- Spread the adhesive across the paper using a flat synthetic brush or an old plastic gift card. Apply a thin film from the gutter toward the page edges. Avoid thick puddles, which can wrinkle the paper.
- Smooth the next page down onto the wet adhesive. Begin smoothing with your palm at the spine gutter and work toward the outer margin, pushing out trapped air pockets.
- If you want a heavier board, repeat this process with a third page.
- Place a second sheet of wax paper over the freshly glued spread.
- Close the book with protective sheets between the wet pages and neighboring leaves. Place a clean, flat weight on top and leave it until the adhesive is fully dry; follow the drying instructions on your adhesive.
Priming with Acrylic Gesso
Once your fused pages are dry, prime the surface with acrylic gesso. The Golden Artist Colors gesso instructions describe it as a flexible acrylic ground that gives paint a surface to grip. They recommend thin applications and testing the surface first.
Choose between two main types of gesso:
- White acrylic gesso: Completely or partially obscures the underlying printed text, creating an opaque, textured background that accepts acrylic paint, gouache, watercolor, and graphite pencil.
- Clear acrylic gesso: Dries transparent with a slight matte grit. It adds tooth for paint while letting the print show through, but it does not waterproof the paper and can dry slightly cloudy, so test it on a spare page first.
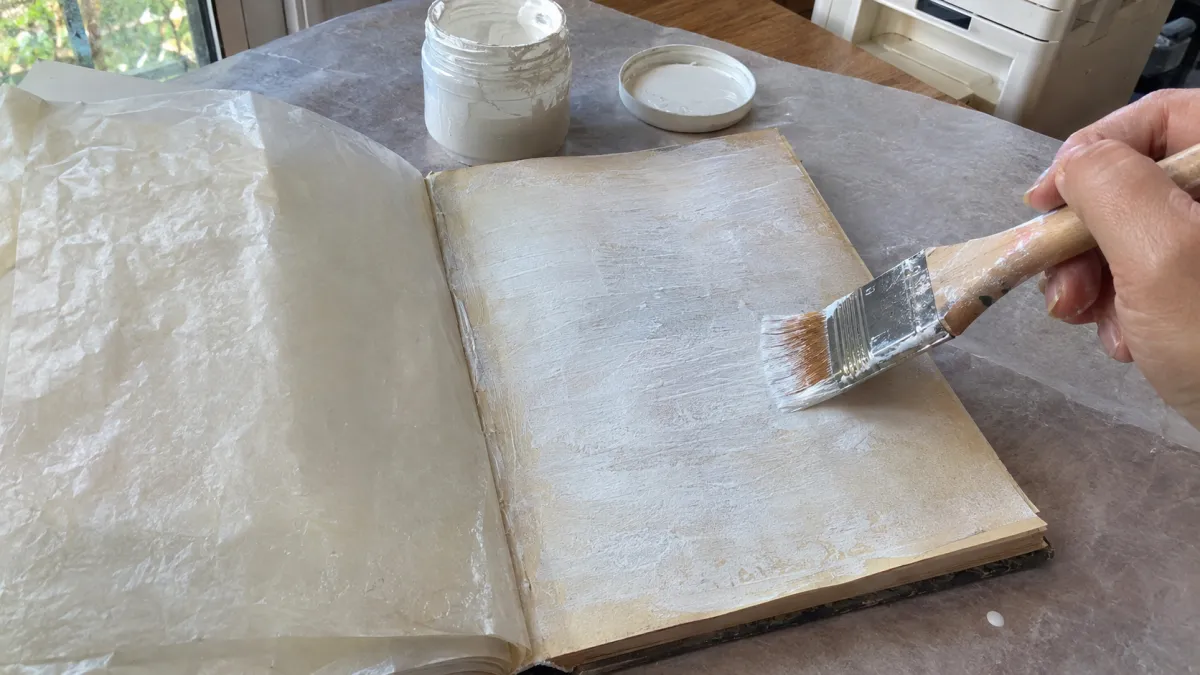
To apply gesso, insert wax paper behind your working page to protect adjacent leaves. Use a flat synthetic brush to apply a thin, even coat. If you want some of the original typography to show through, scrape a small amount of wet gesso across the text with an old plastic gift card.
Let the gesso dry as directed on its container before touching the page or applying paint. Golden advises allowing one to three hours between applications, depending on conditions. For more coverage, apply another thin coat after the first has dried.
Core Altered Book Techniques for Beginners
Once you have thinned and prepared the pages, try one of these seven techniques. They use simple equipment and give you different ways to work with the printed page, from flat collage to cut compartments.
1. Collage and Ephemera Layering
Collage is a mainstay of altered books. Different paper textures add depth and help bring a page theme together.
Collect vintage postage stamps, cancelled cheques, old maps, handwritten letters, receipts, and music scores. Tear paper edges by hand against the grain to create soft, fibrous white margins, or cut them with scissors for clean geometric lines.
When assembling a collage spread:
- Establish a focal point: Select one dominant image, such as a vintage portrait cutout, an architectural drawing, or an antique botanical illustration, and place it slightly off-center.
- Build background texture: Tear strips of text, maps, or tissue paper and adhere them around the margins to frame the focal point.
- Choose the right adhesive: Use an archival permanent glue stick for lightweight, flat paper scraps. For heavier cardstock, fabrics, or textured ribbons, use a thin film of matte gel medium.
2. Painting, Stenciling, and Inking
Altered book paper accepts a wide variety of painting media once primed with gesso.
Opaque acrylic paint can cover background text. For a translucent effect, use a little fluid acrylic with matte medium and test it on a spare page. Avoid soaking the gutter, where moisture may damage the binding.
Use laser-cut plastic stencils with a dense cosmetic sponge to dab muted grey, ochre, or black acrylic paint across the margins. Dry brushing is another effective technique: dip a stiff hog-bristle brush lightly into paint, wipe most of it off onto a paper towel, and drag the dry bristles across the page to highlight paper texture and torn collage edges.
3. Found Poetry and Blackout Poetry
Found poetry uses selected words from the author's printed text to make your own verse. Covering most of the page lets you read the remaining phrases as a new story.
Start by skimming an unaltered book page without reading it for continuous plot. Look for intriguing nouns, verbs, and poetic fragments that catch your eye. Lightly circle your chosen words with a soft 2B graphite pencil. Careful margin annotation and text marking techniques help keep those marks neat and readable before you commit to ink or paint.
Once you have chosen your poem:
- Connect the words visually: Draw connecting lines or speech bubbles between the selected words using a fine-tipped black pigment liner pen.
- Obscure the remaining text: Paint over the unwanted words with black acrylic ink, deep gouache, or intricate geometric patterns. You can also paint a complete pictorial scene across the page, carefully painting around your chosen words so they float inside the illustration like white speech plaques.
Artist Tom Phillips began A Humument in 1966, working over W. H. Mallock's novel A Human Document. He painted and collaged around selected words to make a new work from the old pages.
4. Cutting Windows and Peep-Holes
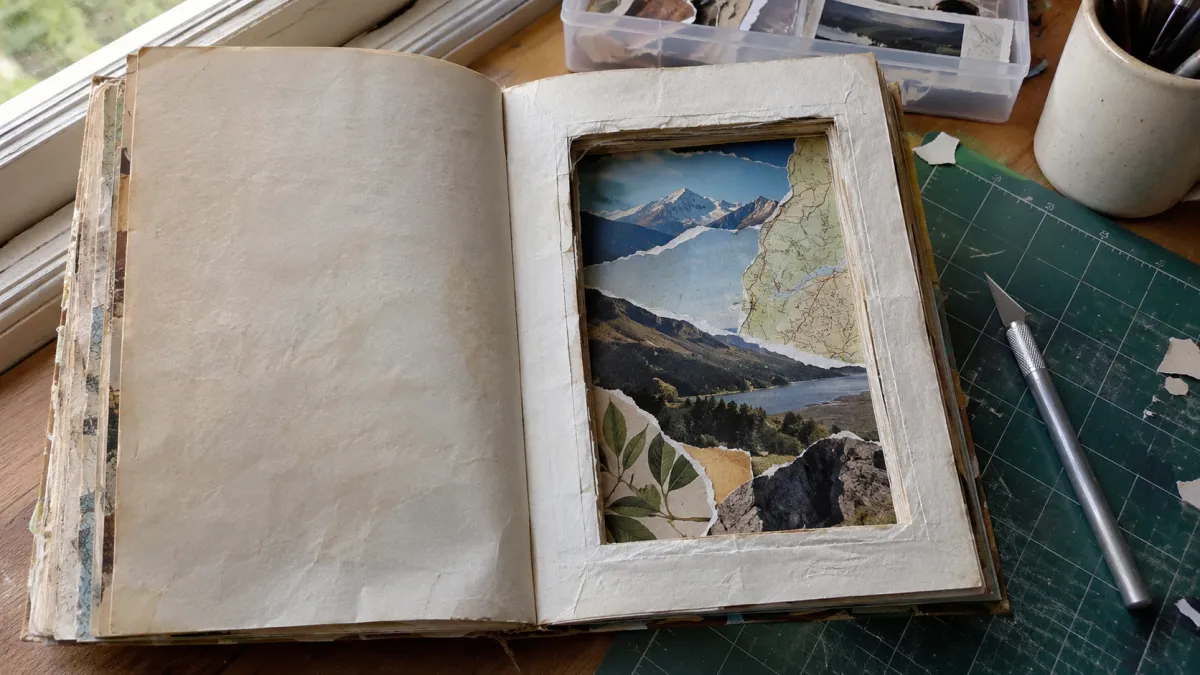
A cut window lets you see through one page to the artwork behind it, adding depth to the spread.
To cut a clean window:
- Decide on your window placement and shape. Simple rectangles, decorative arches, and circular apertures work well for beginners.
- Place a self-healing cutting mat directly under the page you are cutting.
- Draw the window outline lightly on the page with a pencil and ruler.
- Align a metal ruler along the straight edges. Hold the ruler down firmly with your non-dominant hand, keeping every finger behind its edge and outside the blade's path.
- With a fresh craft knife blade, cut along the ruler using light, steady pressure. Make shallow passes until the cut is complete rather than forcing the blade through.
- Lift out the cut paper.
- If the cut edge is rough, smooth it gently with fine sandpaper. Brush a little matte medium onto the raw edge and let it dry.
When you turn the page, the window frames a chosen detail on the next spread, such as a collaged portrait, an inspirational quote, or a contrasting splash of color.
5. Carving a Secret Book Niche
A book niche, also known as a shadow box or hollow book cavity, is a recessed compartment carved deep into the text block. You can use a niche to house three-dimensional keepsakes, miniature sculptures, dried botanicals, or small folded scrolls.
Take your time cutting a niche. Work through the block a few pages at a time:
- Choose a block of pages in the middle of the book for your niche. Leave loose pages before and after it so the book still opens naturally.
- Protect the loose front and back sections by wrapping them in wax paper and clamping them out of the way.
- Clamp the chosen block of pages together with binder clips. Brush a thin layer of PVA glue over its top, bottom, and outer edges, keeping glue away from the spine and surrounding pages. Let it dry fully before cutting.
- Draw a simple rectangle on the top page of the glued block. Leave a generous border on all sides so the remaining paper walls have support.
- Place a cutting mat directly beneath the glued page block.
- Place your metal ruler along one pencil line. Draw your craft knife along it with light pressure, cutting only a few pages at a time. Repeat around all four sides.
- Lift out the cut interior paper rectangles.
- Continue slicing down through the block layer by layer. Change your blade as soon as you feel it dragging or tearing the paper; slicing through dense book paper dulls carbon steel quickly.
- When you reach your desired depth, remove any paper debris. Brush PVA glue generously along the interior paper walls of the carved cavity. The glue joins the raw cut edges into a smooth, solid wall.
- Line the finished cavity. Cut decorative paper, bookcloth, or velvet ribbon to fit the bottom and interior side walls, adhering the lining with a thin coat of PVA glue.
6. Foldouts, Flaps, and Extensions
A foldout gives you more room than the original page size allows. The reader opens the flap to see the full spread.
To add a foldout:
- Choose sturdy paper, such as watercolor paper or kraft cardstock.
- Cut the extension to fit the height of your book page, with extra width for the foldout.
- Score a fold near one edge of the extension sheet using a bone folder. The narrow strip beside that fold is your hinge tab.
- Apply PVA glue to the hinge tab and attach it behind the outer edge of a book page.
- Fold the extension inward so it tucks neatly inside the book when closed.
You can also attach vintage envelopes directly onto pages to create secret pockets that hold letters, tags, or pressed leaves.
7. Adding Pockets and Manila Tags
Pockets provide storage for loose ephemera, journaling cards, and keepsakes.
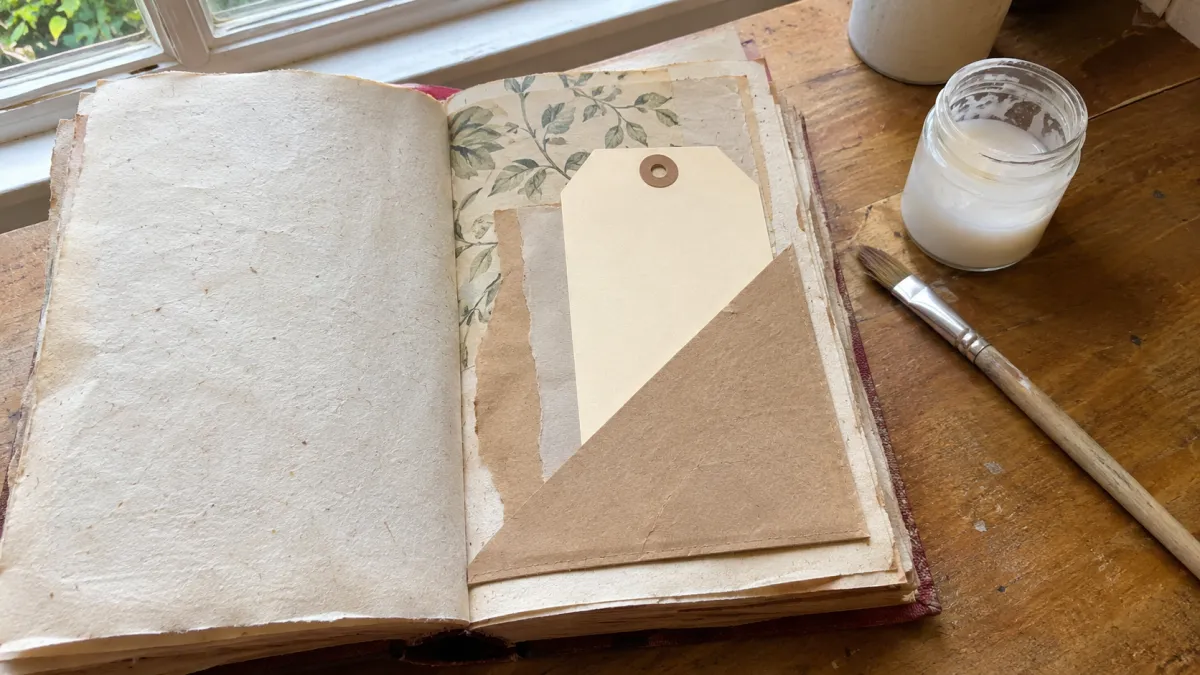
To build an angled corner pocket:
- Cut a square of cardstock that fits comfortably in the corner of your page.
- Cut the square diagonally from corner to corner to yield two right triangles.
- Apply a narrow line of PVA glue along the bottom and outer edges of the triangle. Leave the diagonal edge free of glue.
- Press the triangle firmly into the lower corner of your book page.
Once dry, this pocket holds standard manila shipping tags tied with natural jute twine. Use these tags for private journaling, date stamping, or small watercolor studies.
Project Ideas: From Simple to Ambitious
Folding the page edges into a shape is a craft of its own; book folding patterns shows how to measure, mark and fold one.
Simple Beginner Projects
These projects need little cutting, so you can get used to the adhesives and gesso while trying out page layouts.
- The Found Poetry Journal: Dedicate a short novella or poetry volume to blackout poetry. Work through ten or fifteen spreads, experimenting with different masking methods, such as black ink doodles, pastel gouache silhouettes, and geometric stamping.
- The Botanical Herbarium: Alter an old gardening manual or nature guide. Fuse pairs of pages, apply clear gesso to protect the original plant descriptions, and mount real pressed leaves and vintage botanical illustrations onto the spreads with matte gel medium.
- The Monochromatic Collage Spread: Pick a single accent color, such as mustard brass or indigo blue, combined with neutral book print and kraft paper. Build five spreads exploring how varying textures of paper, fabric, and string interact within a limited color palette.
Intermediate Projects
These projects ask more of the book's structure. You will cut into pages or add parts that the reader can open and handle.
- The Multi-Layer Tunnel Window: Cut aligned rectangular windows through several consecutive leaves, making each opening slightly smaller than the one before it. Paint decorative borders around each aperture. Viewed from the front, the stepped openings lead the eye to artwork on the page beneath.
- The Travel Keepsake Book: Use an old atlas or road-trip guide as your base. Incorporate foldout road maps, stitched envelope pockets holding rail tickets, and luggage tags with handwritten travel notes.
- The Specimen Cabinet: Carve shallow niches in separate spreads. Line each niche with ledger paper and mount small, dry natural items inside, such as clean seashells, dried acorn caps, or feathers, securing them with heavy gel medium.
Ambitious Advanced Projects
Try these once you are comfortable making more involved cuts and changes to the book's structure.
- The Illuminated Book Reliquary: Carve a deep niche and line it with dark bookcloth or patterned paper. Add a battery-operated LED light strand around the rim, keeping its battery pack accessible outside the paper cavity.
- The Architectural Diorama: Build a miniature architectural scene inside a carved book chamber using layered laser-cut chipboard arches, tiny printed vintage storefronts, and sculptural paper folds.
- The Sculptural Book Carousel: Slice away the original covers, fold every page into uniform geometric angles, and glue the spine ends together to form a freestanding, circular paper sculpture for table display.
Real Supplies and Equipment Checklist
You do not need expensive specialty gear to make altered books. Most items are everyday household tools or standard craft supplies.
- Secondhand hardcover book: Look for a sewn binding, intact spine, and uncoated paper. Thrift shops and library book sales are useful places to look.
- Craft knife and replacement blades: A hobby knife with pointed replacement blades is suitable for page cuts. Replace dull blades; they can tear the paper or slip.
- Metal ruler: Use it to guide straight cuts. A plastic or wooden ruler can be damaged by the blade.
- Self-healing cutting mat: Place it under the pages you are cutting to protect the desk and pages below.
- Acrylic gesso: White gesso mutes print; clear gesso lets more print show through. Buy the type that suits your spread.
- Adhesives: Acid-free polyvinyl acetate (PVA) craft glue for structural paper binding, matte gel medium for collage, and an archival permanent glue stick for lightweight papers.
- Brushes: A flat synthetic brush spreads glue or gesso in thin coats.
- Barrier sheets: A roll of standard kitchen wax paper or silicone baking parchment to prevent pages from sticking together during gluing and painting.
- Heavy pressing weights: A stack of books can help flatten glued spreads while they dry.
You can skip expensive cast-iron bookbinding presses, specialized paper guillotines, and chemical varnish sprays when starting out. A stack of heavy books and standard craft glue are enough to get a neat, well-finished result at home.
Common Mistakes and How to Avoid Them
1. Forgetting to Thin the Book
Adding collage without removing any pages can strain the binding. If your book begins to flare open like a wedge, pause and remove selected leaves from unworked sections to create clearance.
2. Allowing Pages to Fuse Accidental Bonds
Wet PVA glue and acrylic gesso can squeeze past page margins and fuse adjacent pages together into an unintended solid lump. Never close an altered book without inserting clean wax paper or silicone sheets on both sides of the working page. Press glued leaves between the barrier sheets and let the adhesive dry before you paint. Once you paint or gesso a page, let it dry fully with the book open, with no weights or coverings touching the painted surface.
3. Forcing Cuts with a Dull Knife Blade
When carving a niche, pressing down hard with a dull blade causes the knife to slip, leaving jagged, torn paper edges and increasing the risk of hand injury. If you feel resistance or see paper fibers tearing instead of slicing cleanly, stop and replace the whole blade following the knife's instructions; never try to snap a pointed hobby blade that is not made in segments. Use several light strokes with a sharp blade.
4. Over-Saturating Paper with Water
Thinning paint with excessive water causes deep paper cockling, rippled margins, and moisture migration into the spine binding threads. Keep your brush damp rather than soaking wet. When you need a thinner consistency, use fluid acrylic paint or a fluid acrylic medium rather than a lot of water.
5. Using Unstable Household Tapes and Glues
Avoid standard transparent cellophane tape, masking tape, and rubber cement. Standard adhesive tapes dry out within a few years, turn brittle and brown, and leave sticky yellow stains across paper fibers. Rubber cement degrades rapidly and loses its bond. Stick to acid-free PVA glues, methyl cellulose, and archival acrylic mediums designed for paper arts.
Preservation, Care, and Long-Term Storage
An altered book combines paper, paint, and adhesives. Store it carefully to reduce fading and damage to the binding.
Keep finished books in a clean, temperature-stable living area away from damp basements, uninsulated attics, or heat radiators. The Library of Congress preservation FAQ on books advises keeping books out of basements, attics and garages, where temperature and humidity swing widely.
How you store the book on a shelf depends on how heavily you altered it:
- Lightly altered books: If your book contains mostly flat collage, painted spreads, and thinned pages that close flat, store it upright on a bookshelf between two sturdy bookends.
- Heavily dimensional books: If your book contains deep niches, dimensional items, or heavy foldouts, store it lying flat on a shelf. The Northeast Document Conservation Center storage guidance recommends flat storage for scrapbooks and very large or heavy volumes.
Frequently Asked Questions
Can I alter a paperback book?
You can alter a paperback, but it requires extra reinforcement. Paperbacks use glued perfect bindings that crack easily under moisture or stress. If you alter a paperback, avoid cutting deep niches or removing large blocks of pages. Reinforce the inner paper spine by gluing strips of linen bookbinding tape down the gutter of key spreads, and stick to light collage and dry media.
What is the difference between white gesso and clear gesso?
White gesso contains titanium dioxide pigment, which covers or mutes the dark printed text underneath to provide a fresh, white painting ground. Clear gesso contains no white pigment; it dries with a gritty matte finish that lets the print, illustrations and handwriting show through, though it can look slightly cloudy and it does not make the paper waterproof.
How do I stop my pages from warping when wet?
Warping occurs when moisture causes paper fibers to swell unevenly. To prevent warping, fuse two or three pages together with matte gel medium before painting, apply thin coats rather than soaking the paper, and press glued leaves between wax paper under weights until the adhesive is dry; let painted pages dry fully with the book open and nothing pressing on them.
Is it disrespectful to cut up an old book?
It is understandable to hesitate before cutting into your first book. Choose a damaged copy that no longer serves as a useful reading copy, and set aside anything rare or personally significant. That gives you room to experiment without sacrificing a book you would rather preserve.
How long does an altered book take to complete?
The time depends on the materials, drying conditions, and how much of the book you alter. A painted spread can be a short project spread over several drying sessions; a carved niche takes longer. You can keep an altered book as an ongoing visual journal and finish a spread whenever you feel like working in it.